Replacing Crumbling Vintage Tuning Machine Buttons
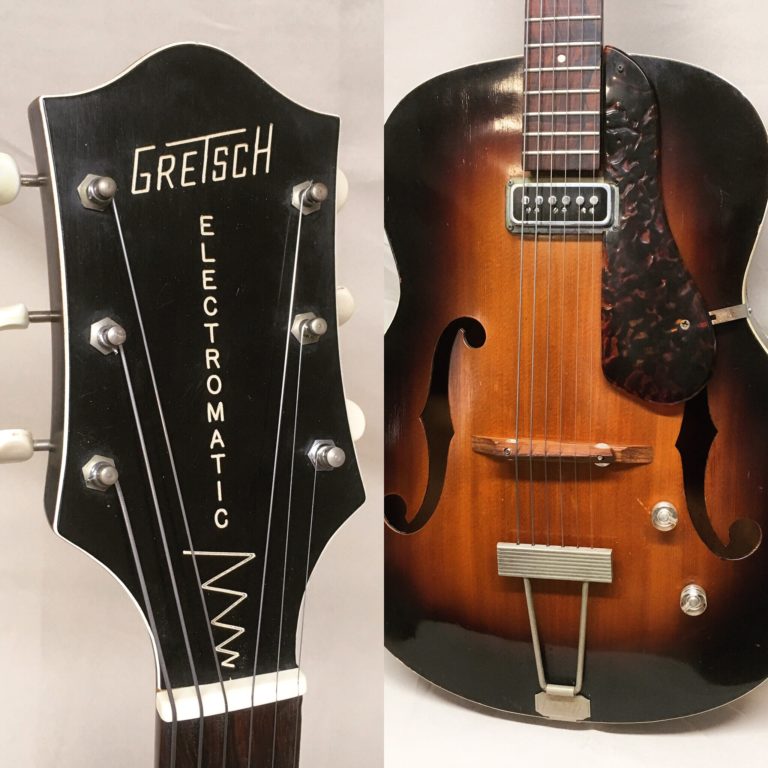
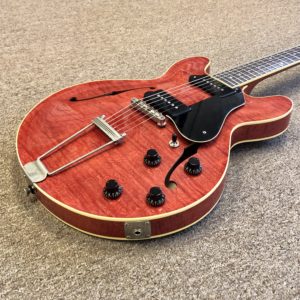
This old Gretsch archtop guitar came into the shop in need of a bit of an overhaul. The instrument had been sitting unused for many years and the client was hoping to restore it to playable condition.
Before installing a new bone nut and performing a long overdue setup, the instrument needed the tuner buttons replaced.
Replacing Tuning Machine Buttons: Step by Step
Crumbling Plastic Buttons
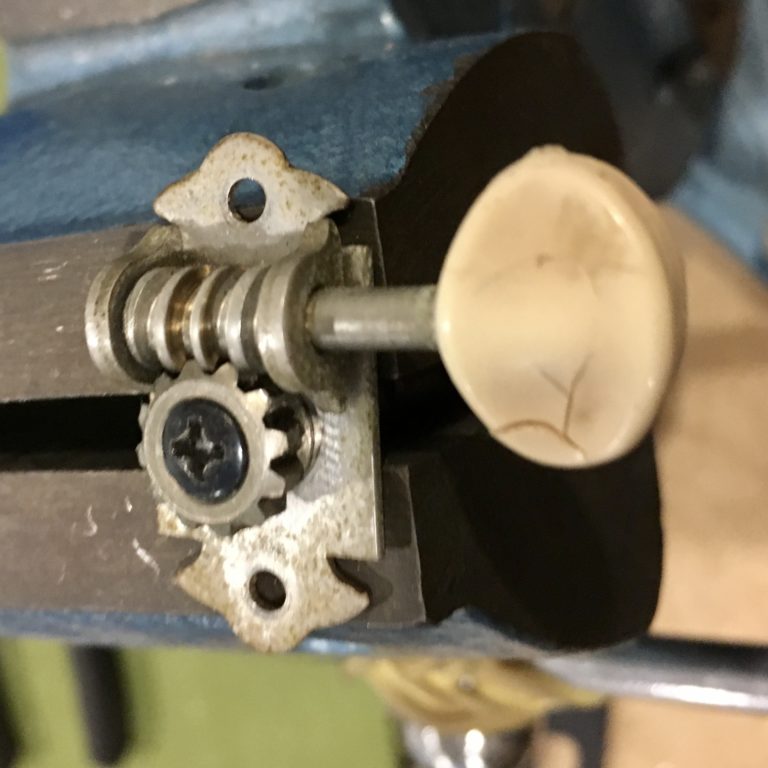
Shrunken, crumbly, plastic tuning machine buttons are not uncommon on vintage instruments. As it ages, plastic breaks down. This makes the plastic brittle. Eventually, the tuning machine’s buttons deteriorate to the point that they can no longer hold up to the pressure exerted upon them from normal use. If forced, they may fall apart entirely. This can make restringing or even simply tuning the instrument impossible
Plastic deterioration is also a concern with vintage pickguards. As you can see in the photo, the knob has dried out and begun to crack. This tuner will not be reliable without repair.
If this were a newer guitar, we may have simply upgraded the original 12:1 tuners with something a bit higher quality. However, with vintage instruments, we try to retain as much originality as is practical. Rather than replace the entire tuning machine, we elected to swap out just the worn buttons. This same procedure could be used to replace “vintage-style” tuner buttons on modern reproduction tuning machines when broken or a different type of button is desired for a custom look.
Removing The Old Plastic Buttons
We first remove the tuners from the instrument. This allows us to work on them without the risk of damaging the guitar.
During removal we check that the mounting screws are in good shape and that they will be able to tighten securely later. If needed, we will take the opportunity to repair and/or replace any stripped or worn out screws.
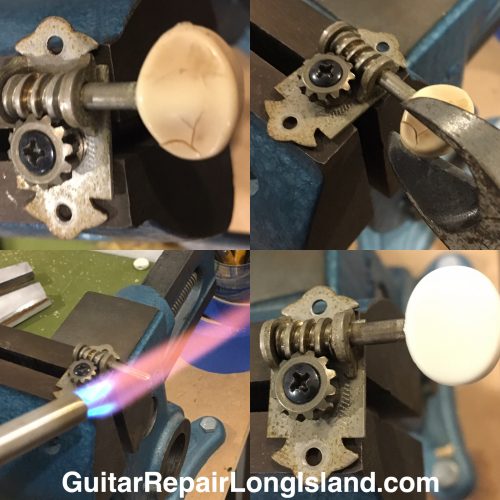
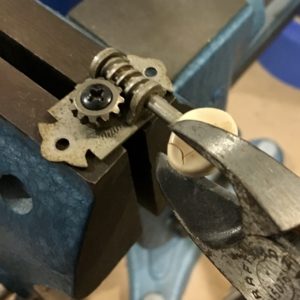
After removal, the tuner is placed securely in a bench vice; Once in place, we use diagonal cutters to snip off the old knob.
Cleaning The Tuner Shaft
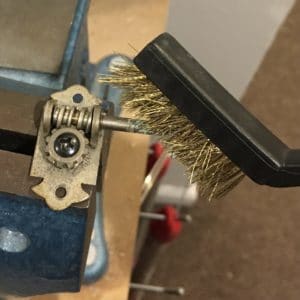
Once the old button is removed, the tuning machine shaft must be cleaned of any remaining debris and corrosion.
This will assure a smooth surface to attach the replacement.
Heating For A Press Fit
These plastic vintage style buttons are typically press fit onto the metal shaft. Though the buttons have an opening on one side, it is too small to easily fit over the tuning machine shaft.
However, when properly heated, the plastic button molds around the metal as it is pressed into place.The trick is to apply enough concentrated heat to fit the button, but not so much as to risk damaging the tuner.
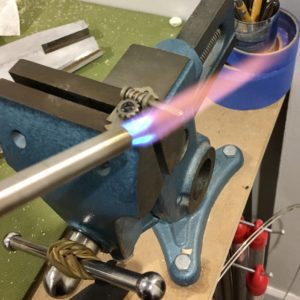
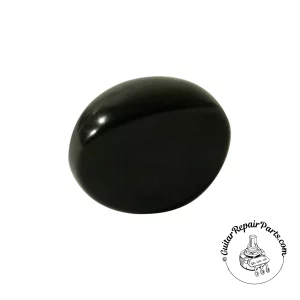
Heat pressing the knobs into position works great for the plastic knobs used in this repair. However, it is worth noting that certain types of buttons, Ebony for example, cannot be fit using the method described. In those situations, in lieu of heating and pressing the knob, we carefully file and shape the knobs opening to conform to the tuning machine shaft. Once we have obtained a secure fit, it is glued into position.
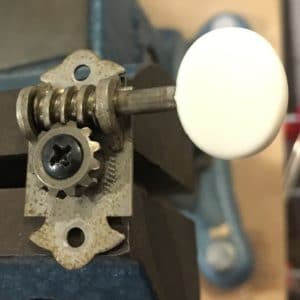
After it has been pressed into place, the machine is left to sit while it cools and solidifies.
If desired, the new buttons may then be reliced to match the aesthetics of the instrument.
Finally, the keys are ready for reinstallation and years of reliable service.
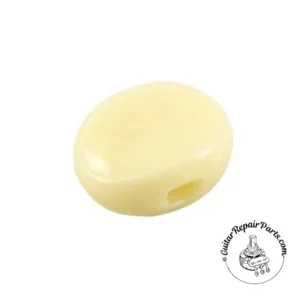
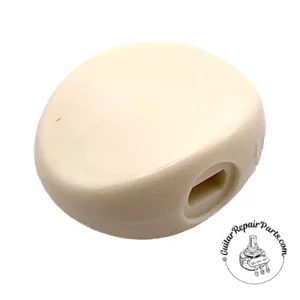
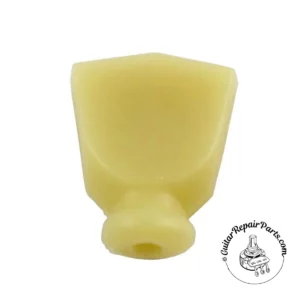
Replacement Buttons
Professional installation is strongly recommended. Improper installation may result in damage to the product and/or instrument.

Erik Salomon - Calico Guitarworks Owner / Head Technician
Tech Talk articles are part of an ongoing effort to provide clear and detailed answers to common questions about guitar maintenance, modifications, and repairs.
While not intended as a step-by-step guide to servicing your own instrument, we hope that you will find value in the information provided.

Great Repairs Start With The Right Parts
Many of the parts mentioned in our blogs are available for purchase at:
GuitarRepairParts.com
Enter the code "TechTalk10" at checkout for 10% off your first order.
About Calico Guitarworks
Calico Guitarworks is the area’s premier destination for fretted musical instrument care and maintenance. Owned and managed by Erik Salomon, the shop is dedicated to providing quick, honest and reliable service. The staff at Calico Guitarworks has a combined 25+ years of professional guitar repair experience. Sharing the knowledge that we accumulate in this focused pursuit is at the core of what we do. Learn more About Calico Guitarworks, explore our Frequently Asked Questions, or Contact us with a specific request.

