Acoustic Guitar Neck Resets
Hybrid Neck Joint: Bolted Heel With Glued Fingerboard Extension
Luthiers must thread a needle when building a guitar. The instrument must be strong enough to last decades while remaining light and flexible enough to vibrate in a way that is pleasing to the ear. When strung to pitch, a steel string guitar resists about 200lbs of tension that is trying to collapse the instrument in on itself. It is also at the mercy of humidity fluctuations within its environment that may cause the wood to swell or contract. With these things in mind, it is inevitable that an instrument will require adjustment from time to time.
Oftentimes, action adjustments can be made via the instrument’s truss rod and saddle. This process is commonly called a setup. However, proper setup is only possible within a limited range. If the geometry of the instrument is not within certain specs, proper setup will not be possible. Given the substantial demands placed upon it, it is not surprising that, sooner or later, even the finest instruments will require a more substantial overhaul. Often, this will involve a neck reset. A neck reset is the process of readjusting the angle at which the neck is joined to the body.
Traditionally, an acoustic guitar neck is attached to the body using a glued joint called a “dovetail”. While strong and reliable, these types of joints require a substantial effort to separate and reassemble once required. As a result, neck resets on dovetail style neck joints require an experienced hand and carry a considerable price tag. Since most acoustic guitars will require a neck reset at least once over their lifespan, many manufacturers have sought to redesign their neck joints in a variety of ways with the goal of making assembly and neck resets less labor intensive and more cost efficient to perform.
Acoustic Guitar Bolted Neck Joints
Instruments that are constructed with a bolted joint on the heel are far more easily serviced compared to their dovetailed counterparts.
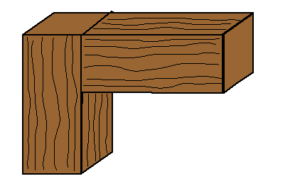
A butt joint is a technique in which two pieces of material are joined by placing their ends together without any special shaping. The butt joint is the simplest joint to make since it merely involves cutting the material to the appropriate length and butting them together.
If attached using glue, this type of joint would be far too weak to be applicable to guitar neck design. However, when joined through the use of metal bolts, it forms a solid connection from the heel to the body that is capable of resisting string pull. On a typical neck, the fingerboard extension must also be attached to the top of the body. However, it is too thin and delicate to be similarly bolted; It is normally secured in a more traditional manner, using glue.
While traditionalists may scoff at this deviation from long established guitar making techniques, this bolted joint has a substantial advantage in that, without sacrificing strength, it can be taken apart with the simple turn of a wrench! Taylor Guitars patented NT Neck has taken this idea even further, figuring out a way to attach both parts of the neck with bolts, creating a glue free joint that is by far the most serviceable in the industry.
Neck Reset on a Tacoma Acoustic Guitar
The photos below belong to a Tacoma brand acoustic guitar. The client wished to have the string height lowered on the guitar. After an evaluation, it became clear that his desired setup would not be possible without a neck reset. Fortunately, since this instrument has a heel that is bolted on, we were able to reset this neck within the clients budget.
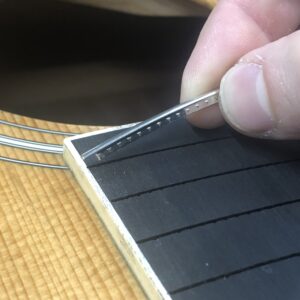
With a bolted heel design, it is often not necessary to release the glued fingerboard extension during a neck reset. This saves time that might otherwise be spent in its removal and reattachment. It also eliminates any risk of accidentally throwing off the center alignment of the neck during adjustment and reassembly.
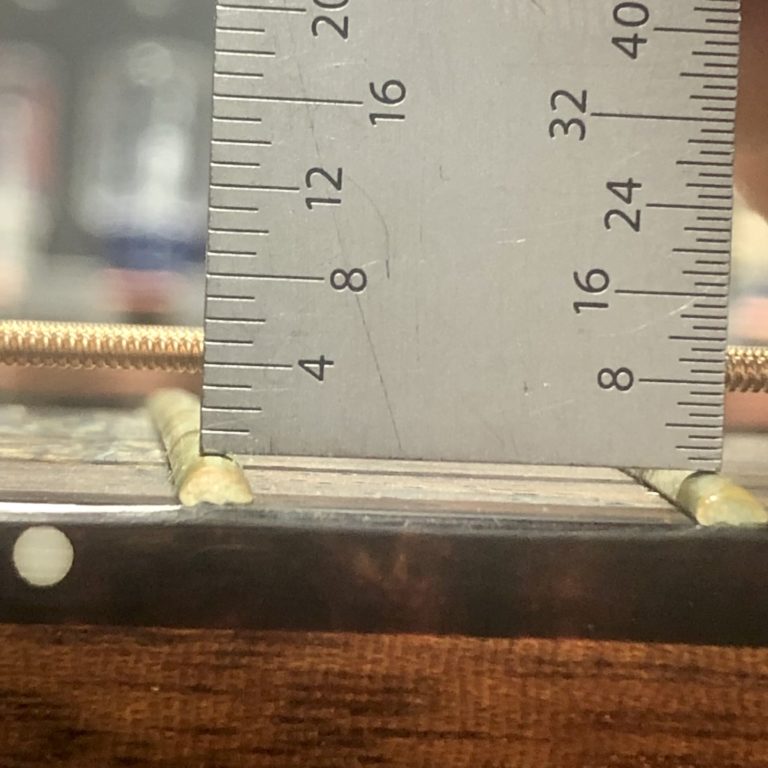
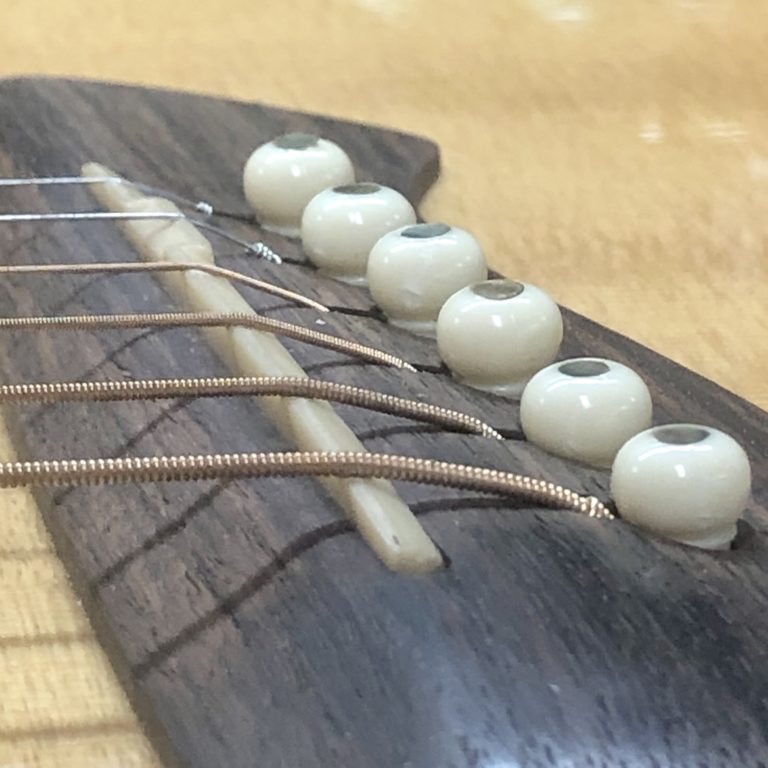
In the photo you can see a piece of sandpaper that has been placed between the heel of the neck and the body of the guitar. This is the setup for a process called “pulling paper”. By pulling the paper outward, material is sanded off of the underside of the heel. Alternating pulls on either side of the heel, we incrementally begin to change the angle of its contact with the body.
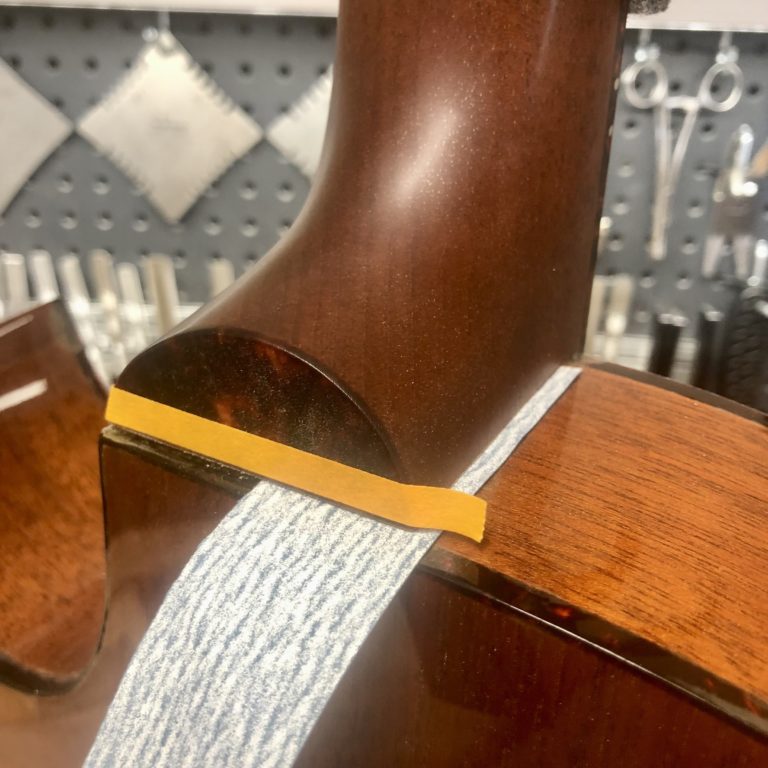
After a number of passes, the neck angle relative to the body becomes steeper, and thus, once restrung, the strings will lay closer to the fingerboard. The result is a more comfortable playing action.
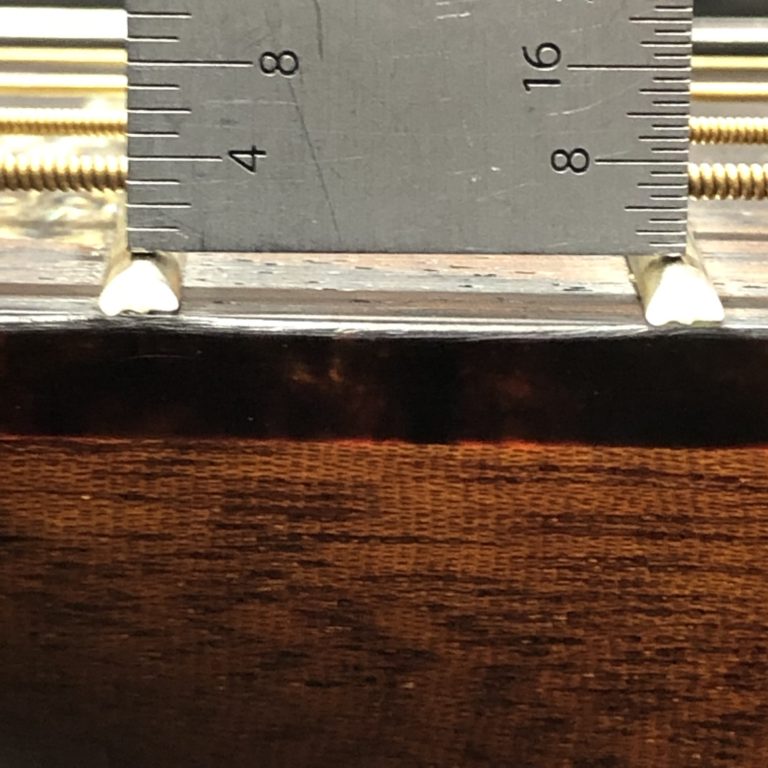
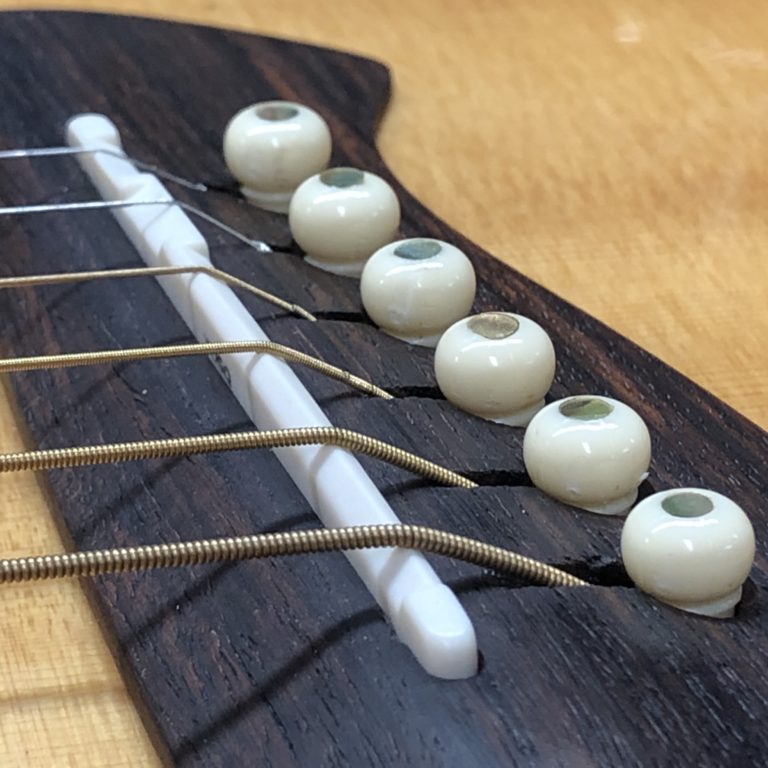
Once we had the neck angle sitting where we wanted it, we replaced the worn saddle with a new one that was a better fit, adjusted the preexisting string ramps slightly, and finished by setting up the guitar as usual.
Neck Reset on an Ovation Acoustic Guitar
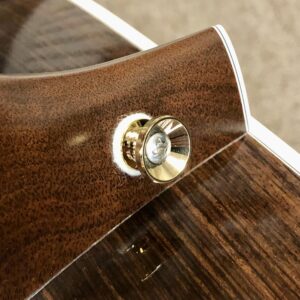
This Ovation guitar had also arrived in need of a neck reset. While it also has a bolted heel and a glued fingerboard extension, the design is a bit different.
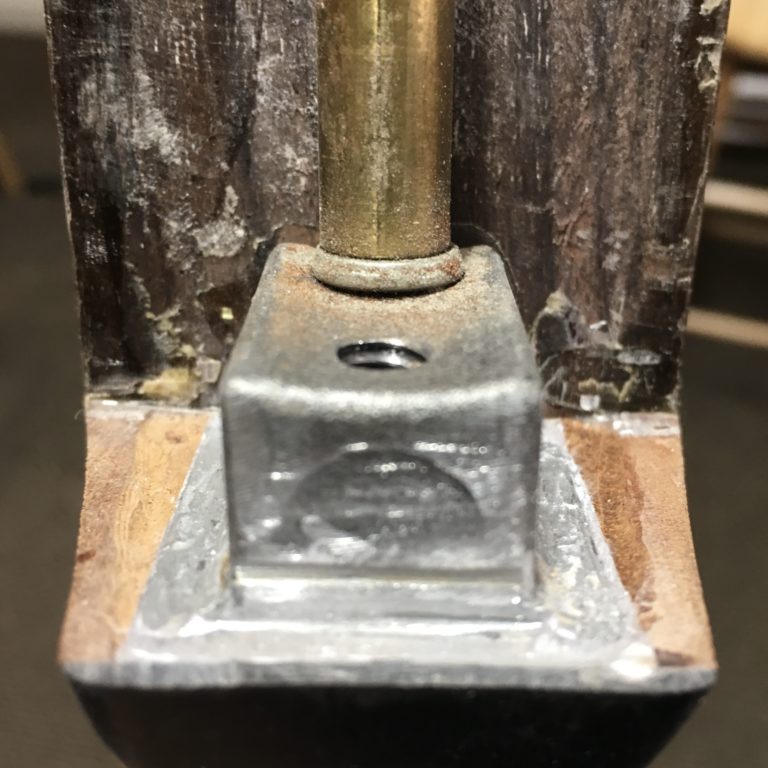
Since the heel is so small, a substantial portion of the threaded female housing for the bolt sits outside of the wood. It almost gives it the physical appearance of a mortoise and tenon style joint, but it is functionally a bolted butt joint.
In this case, we found it necessary to remove the neck from the instrument in order to carve away the inner side of the cheeks. This leaves just the outside edges contacting the body during fitting, making the paper pulling technique possible. The angle was then set via pulling paper, as shown in the previous example.
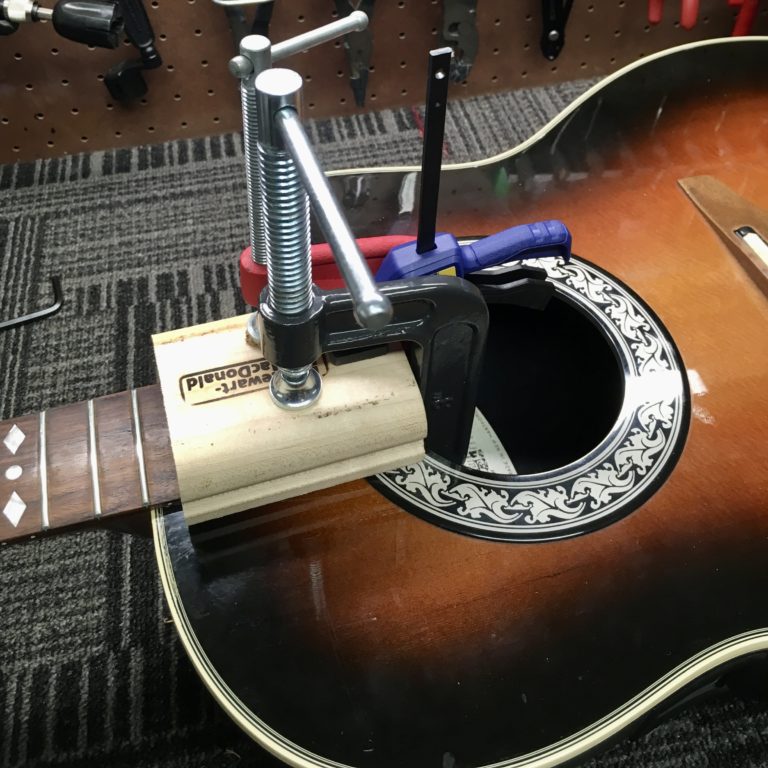
After setting the angle, the heel is rebolted and the fingerboard readhered to the body and clamped in place overnight while it dries.
The extra steps involved in neck removal, prep, and refitting certainly make this job more time consuming. However, with a bit of effort, the guitar was able to be returned to a comfortable action and is ready for many more years of service.

Erik Salomon - Calico Guitarworks Owner / Head Technician
Tech Talk articles are part of an ongoing effort to provide clear and detailed answers to common questions about guitar maintenance, modifications, and repairs.
While not intended as a step-by-step guide to servicing your own instrument, we hope that you will find value in the information provided.

Great Repairs Start With The Right Parts
Many of the parts mentioned in our blogs are available for purchase at:
GuitarRepairParts.com
Enter the code "TechTalk10" at checkout for 10% off your first order.
About Calico Guitarworks
Calico Guitarworks is the area’s premier destination for fretted musical instrument care and maintenance. Owned and managed by Erik Salomon, the shop is dedicated to providing quick, honest and reliable service. The staff at Calico Guitarworks has a combined 25+ years of professional guitar repair experience. Sharing the knowledge that we accumulate in this focused pursuit is at the core of what we do. Learn more About Calico Guitarworks, explore our Frequently Asked Questions, or Contact us with a specific request.


