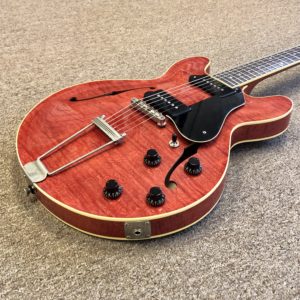
Gibson Headstock Repair
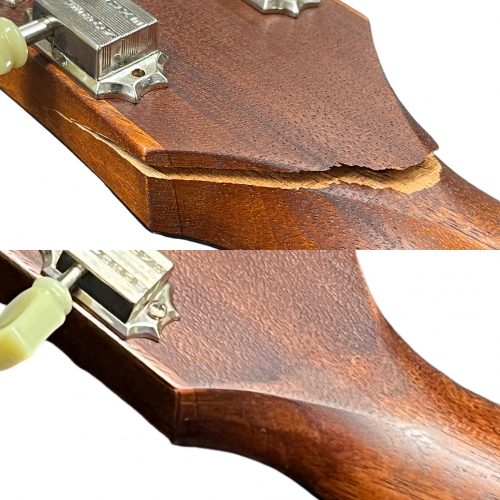
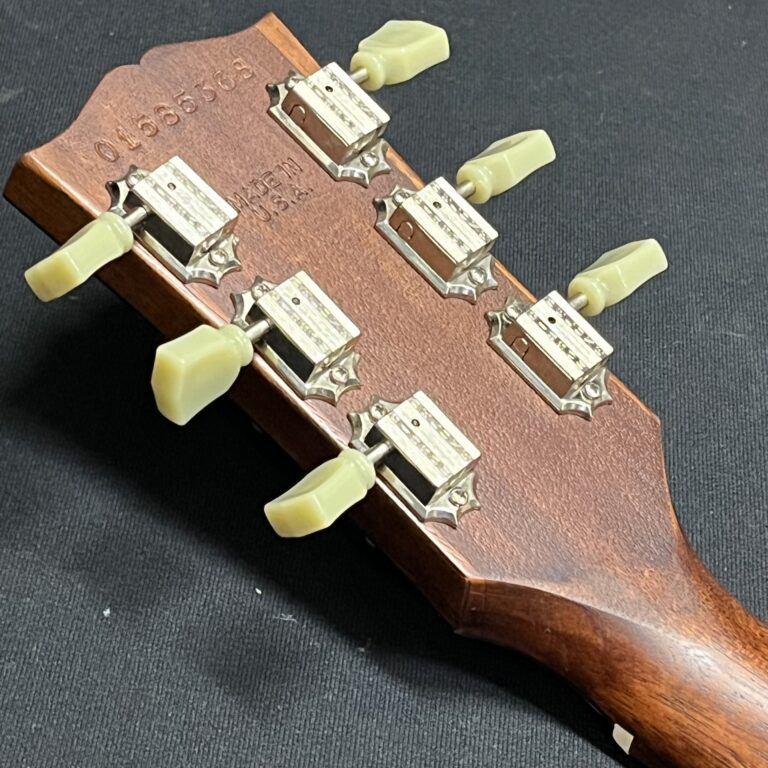
This 2005 Gibson Les Paul Studio guitar came into the shop suffering from a broken, or cracked, headstock. A “Vintage Mahogany” model, produced from 2003-2007, it is a stripped down offering that forgoes both the traditional maple top and the body/fingerboard binding that are typical features of many Gibson Les Paul instruments. More relevant to the issue at hand is the “worn brown” colored Nitrocellulose Lacquer finish. It is thinly applied and has a satin sheen. Gibson has used a similar finish on other instruments within their “faded series”. Another popular color in this style is “worn cherry”.
Though it can happen to any guitar, this type of repair is most commonly associated with Gibson instruments. Fortunately, we were able to get it repaired for the client, including gluing the crack and performing cosmetic touchup.
Why Do Gibson Headstocks Break?
Gibson guitars are particularly susceptible to breakage because of the combination of three factors:
-
Headstock Angle:
The design of the headstock angles back from the plane of the instrument's neck. Should the instrument fall, a pressure point is created right at the base of the headstock.. -
Single Piece Neck
While it's not necessary to understand the intricacies of wood grain, suffice to say that wood fibers have direction to them and that they have greater strength in some orientations than others. Due to the orientation of the wood grain, creating an angled headstock out of a single block of wood inevitably creates an area of runout or "short grain" around the headstock. -
Large Truss Rod Cavity
Gibson guitars have a large rout on the headstock, hidden beneath a plastic cover, to allow access the the truss rod adjustment nut. Creating this cavity requires removing wood, further weakening an already fragile area.
Gluing Up A broken Headstock
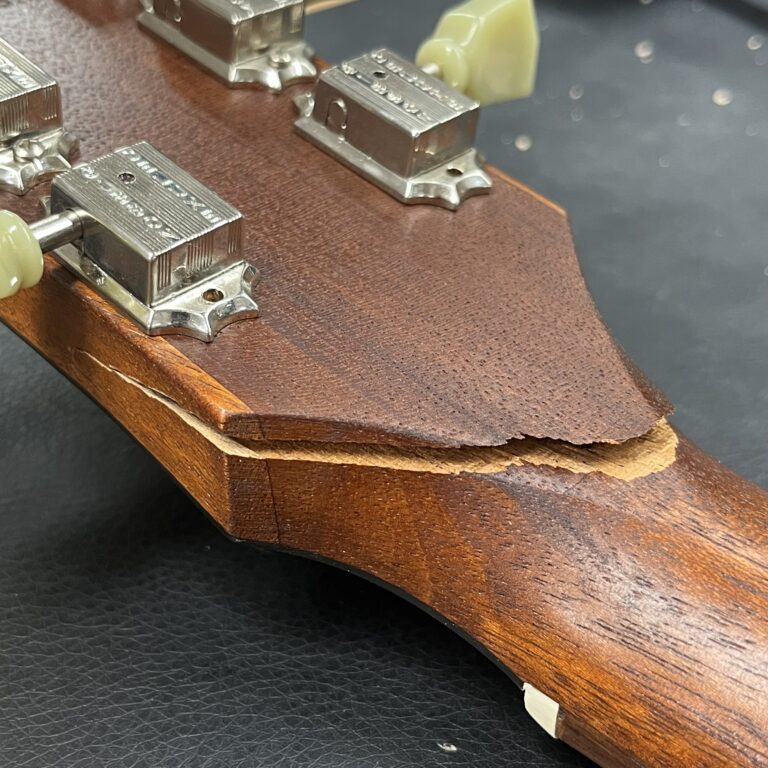
As a result of the break, and perhaps having sat under string tension for some time afterward, compressed wood fibers prevented the crack from closing easily. As you can see in the photo above, even without any string tension on the instrument, there is a fairly large gap between the two sides of the crack. Some delicate prodding and adjusting was necessary to coax it to lay flush and permit clamping.
Fortunately, this crack had plenty of surface area along the break and the damage did not extend through the faceplate veneer. This allowed for a fairly straightforward glue-up without the need for any dowels, splines, or backstraps that a more complex break might require. To provide even pressure, we used padded cauls and a few clamps. It was left to dry overnight.

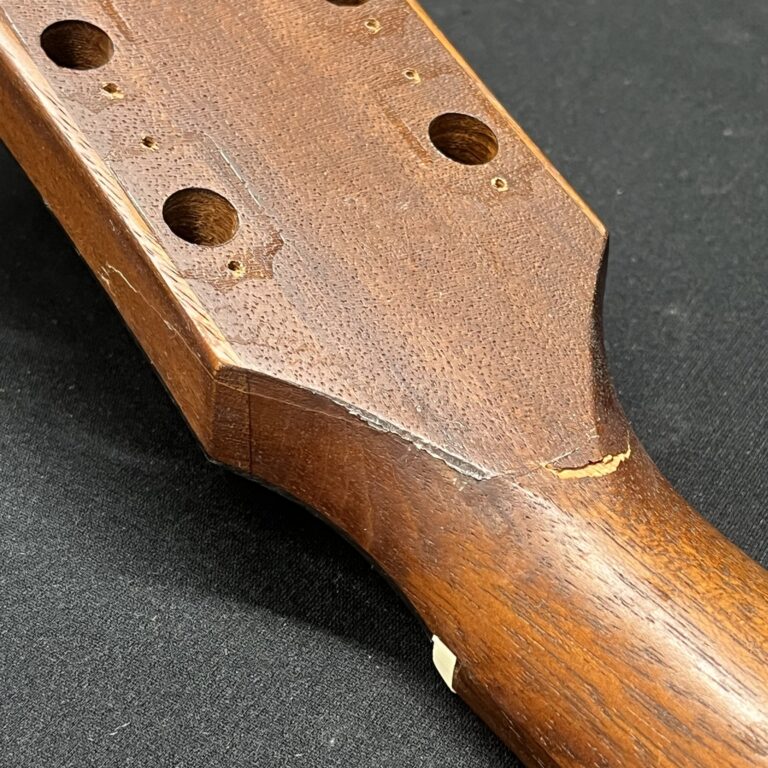
After removing the clamps, the crack was largely structurally sound; While visibly scarred, it would hold string tension and be playable. In some instances, perhaps to meet a budget or deadline on a workhorse guitar, one might opt to simply cleanup the glue residue and stop there. However, in this case, especially because of the missing piece, the scars were too ugly to be ignored.
The biggest eyesore was the large gouge near the center of the neck. There is also a section along the treble side of the headstock where the crack did not lineup perfectly flush, leaving a pronounced ridge could be both seen and felt.
Satin Finish Touch-Up For Headstock

We filled the gouge with a fast setting epoxy putty. For this repair, prior to application, a bit of color was mixed in to darken the putty’s original maple (whiteish-tan) color. If presented with the opportunity to do this repair over again, I might choose a different path here as the material’s short hardening time prohibited a proper color match to the raw Mahogany. When applying stain later, I also found that the patch more easily than the surrounding wood. This presented a bit of a challenge to avoid over-saturating the fill with color.
Next, a bit of light sanding was done to get both the crack and fill to sit flush and smooth with the surrounding wood. It is important to take time here and think critically, as any seemingly minor imperfections at this stage may become more apparent once stain and finish are applied.
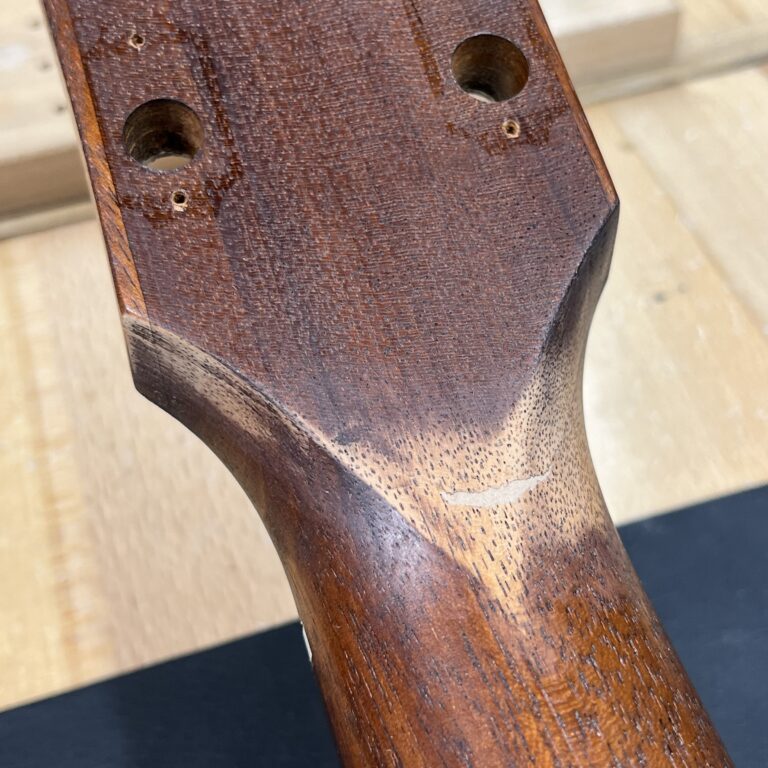

This finish on this guitar is semi-transparent, allowing the grain of the wood to show through. Since the epoxy fill has no visible grain, after as flash coat of finish, we created artificial “grain lines” to help fool the eye. Once dry, another flash coat sealed them in before adding color.
Wood has little openings in its cellular structure called pores. Often times, when applying a shiny gloss finish, manufacturers use a material called “pore filler” as an early stage in the finishing process; The purpose of which is to seal in those openings, allowing the finish to sit on top of the wood rather than sink into it. Crucially, that step is not used on this series of instruments. The absence of which allows little dimples and pockmarks that can be seen in the finish. This helps create the “worn in” character.
Since the finish is so thin, when sanding, the color was removed almost instantly. To remedy this, a brown stain was hand-applied and blended into the surrounding finish. It takes a bit of trial and error to get the color close and avoid a splotchy look.
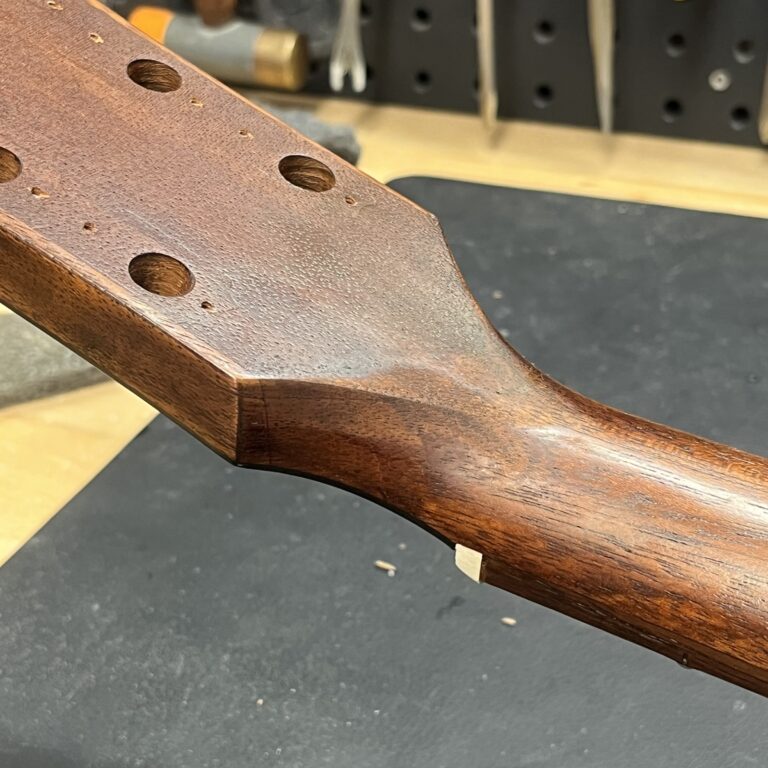

With the color in place, all that as left was to spray a few coats of matte finish to seal it in and protect the work. Once dry a mild abrasive evened out the sheen and further blended the repair into the original finish.
Jobs like this are seldom “invisible”, especially when one knows what the “before” looked like. But, with a bit of care, the repair is pretty well hidden. I am happy with how this one came out and so was the client.
Much like structural repair, every finish touch-up job presents unique challenges. Instruments with different colors, sheens, or finish materials will require a different bag of tricks.



Erik Salomon - Calico Guitarworks Owner / Head Technician
Tech Talk articles are part of an ongoing effort to provide clear and detailed answers to common questions about guitar maintenance, modifications, and repairs.
While not intended as a step-by-step guide to servicing your own instrument, we hope that you will find value in the information provided.

Great Repairs Start With The Right Parts
Many of the parts mentioned in our blogs are available for purchase at:
GuitarRepairParts.com
Enter the code "TechTalk10" at checkout for 10% off your first order.
About Calico Guitarworks
Calico Guitarworks is the area’s premier destination for fretted musical instrument care and maintenance. Owned and managed by Erik Salomon, the shop is dedicated to providing quick, honest and reliable service. The staff at Calico Guitarworks has a combined 25+ years of professional guitar repair experience. Sharing the knowledge that we accumulate in this focused pursuit is at the core of what we do. Learn more About Calico Guitarworks, explore our Frequently Asked Questions, or Contact us with a specific request.

