Acoustic Bridge Removal and Reglue
What Is The Guitar Bridge?
The bridge truly is the heart of an acoustic guitar. Typically made from a piece of wood such as ebony or rosewood, it is glued to the guitar’s top, where it serves several critical functions.
- The bridge provides a firm anchor point for the guitar strings to attach, so that they can be wound to tension by the tuning machines at the other end of the instrument.
- Its attachment to the top permits transmission of the vibration of the strings, amplifying the sound, and creating the tone that we all love to hear.
- The location of the bridge pin holes, together with the nut, controls the instrument's string spacing.
- Working together with and supporting the saddle, it helps to determine the instrument's action and intonation.
What Causes Acoustic Guitar Bridges To Lift?
When strung to pitch in standard tuning, a set of light gauge acoustic guitar strings exert about 160lbs worth of tension upon the instrument. Since the strings are attached to the bridge, this pulling force is partially transferred to it. If there is any weakness in the glue joint connecting the bridge to the top, it can fail.
Though there are many factors that contribute to why a bridge may lift, in our experience, improper humidity care is often a leading cause or a contributing element.
When Does A Lifting Bridge Become A Problem?
Except in rare cases, a bridge does not typically pull completely off of an instrument without warning. Usually, they start to lift slowly along the back edge and creep further over time.
While a small lift may not seem like a big deal at first, it can potentially affect the volume and tone of the instrument. If left unchecked, it may eventually warp the top, or progress to the point of complete bridge failure.
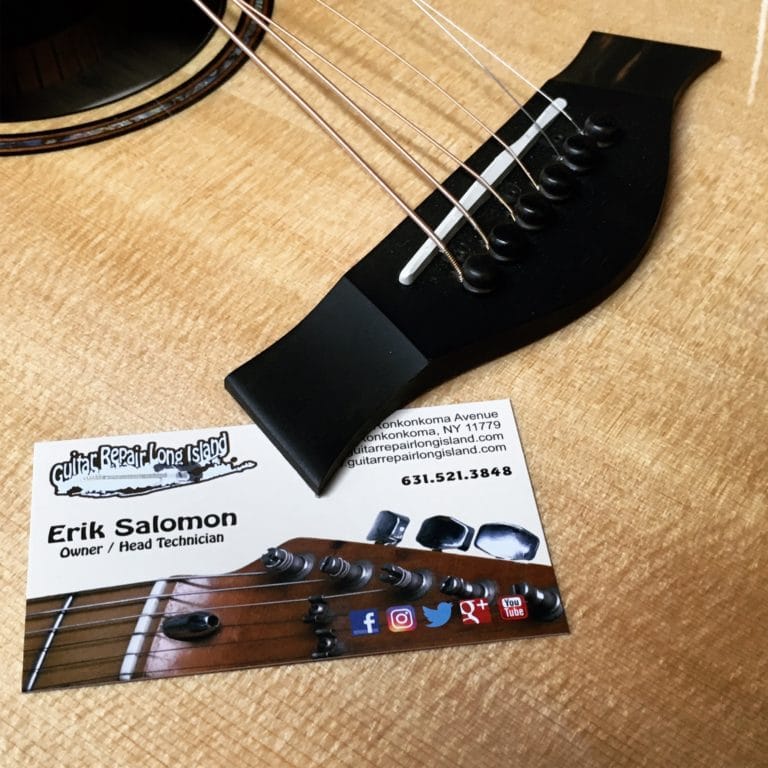
The bridge pictured is from a Taylor 914CE that came into the shop for warranty service. A business card fits pretty far underneath the bass side corner. It was the same on the treble side. As a general rule, if a piece of paper can fit further than about 1/16″ under any one part of the bridge, it is due for repair. If paper fits under in multiple locations, regardless of depth, it’s also best to repair.
Bridge Lift Repair: Step By Step
If the bridge is up, it needs to be removed so that the problem can be fixed before it is reglued.
We occasionally encounter instruments where an attempt has been made to “shortcut” a bridge repair: typically by wicking glue underneath the lifted portion of the bridge and clamping it down, without removal and refitting. In our experience, this is not an effective repair and may offer a temporary fix at best. There is a reason the bridge has lifted. For a proper repair, it is best to remove the bridge, fix the problem, refit the bridge to the top, and then glue it.
Bridge repair is a varied job requiring woodworking skills and the ability to adjust on the fly; Especially with instruments that may have had prior work done, the true extent of the effort required for refitting is often only revealed once the bridge has been removed.
Preparing To Remove The Bridge
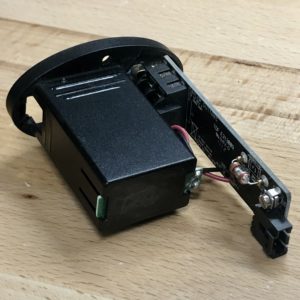
Before beginning, we remove the saddle and ES2 guitar Pickup from the bridge, to avoid damaging them. We also tape off the surrounding area of the top to protect it from damage during the removal process.
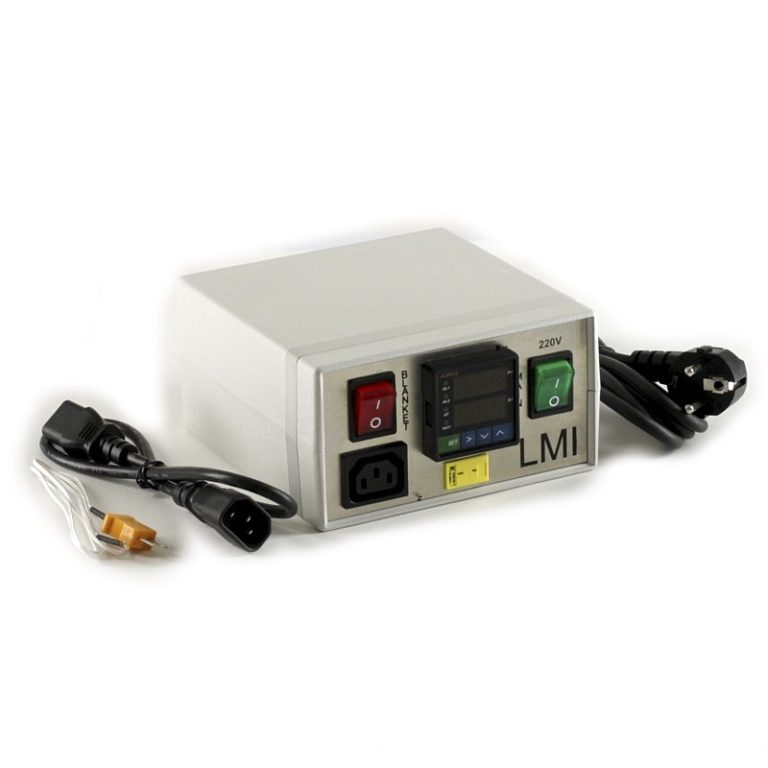
Even a severely lifting bridge may require a fair amount of time and effort to fully separate and remove from the instrument. There are a few common methods for removal. In our shop, we prefer to use heat, via a temperature controller and heating blanket system, to soften the glue joint. When used properly, it makes for a reliably clean removal.
We place the heating blanket and thermoelectric thermometer on top of the bridge, holding them in position with the aid of soft weighted bags. After turning on the unit, we continually monitor for signs that the glue has softened and the bridge is ready for removal.
Acoustic Guitar Bridge Removal
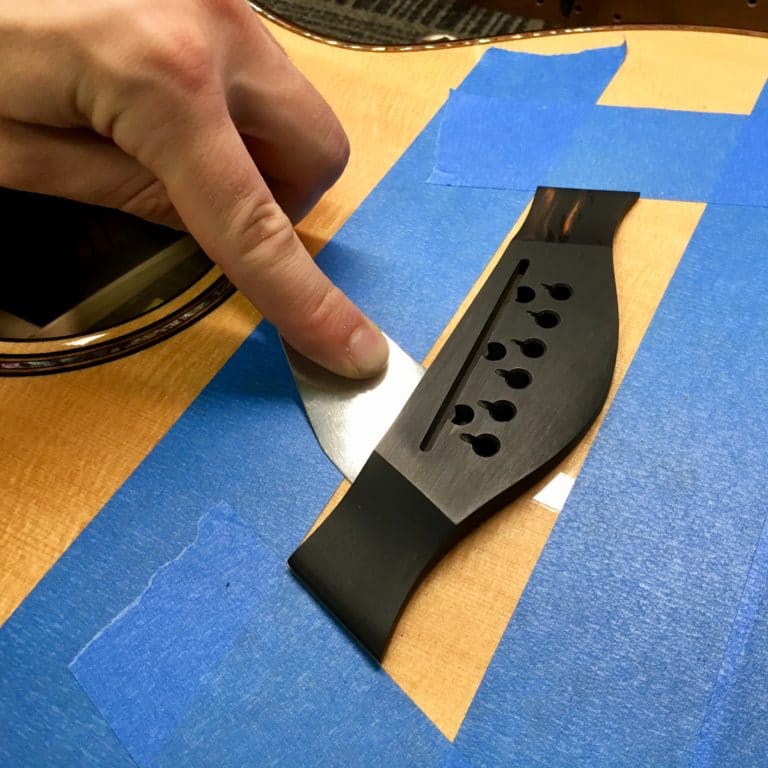
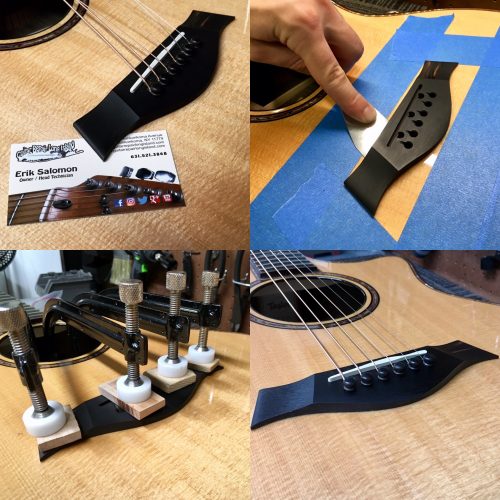
Once the glue has been sufficiently softened by heat, removal with a spatula should be relatively smooth. Even still, experience is key here.
If one is not careful, it is easy to gouge and tear pieces of the guitar top. An error in removal makes for a more complicated refitting
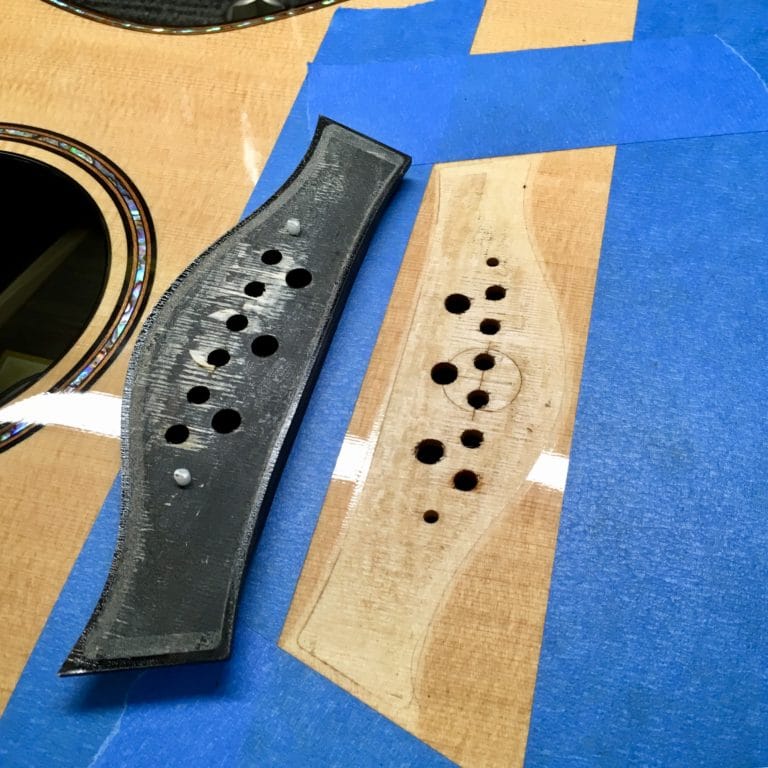
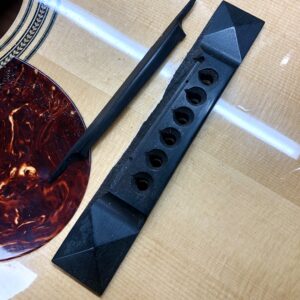
If you look at the photo, you will see that very few of the fibers from the top have been affected by the removal. This makes refitting the bridge easier.
Refitting An Acoustic Guitar Bridge
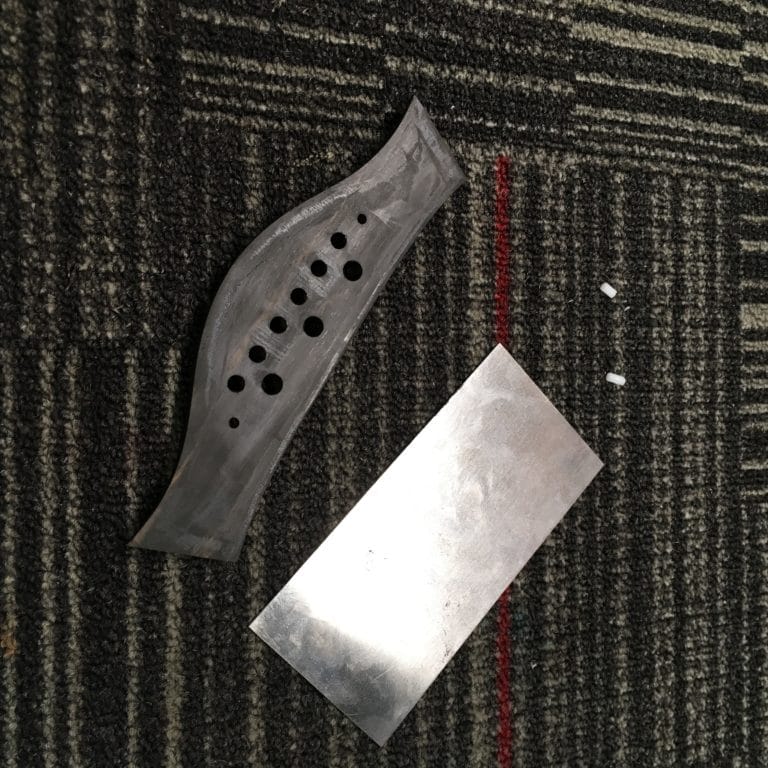
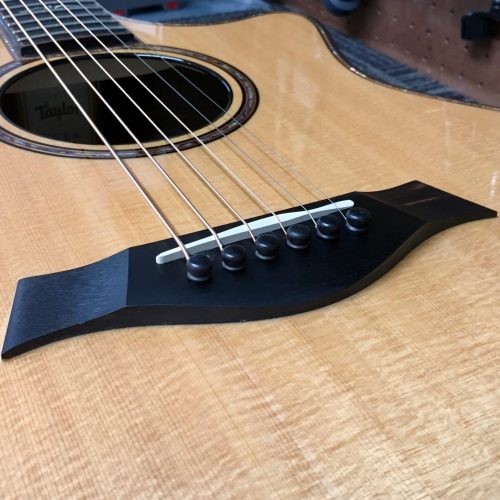
Once the bridge has been removed, the difficult task of troubleshooting and refitting the bridge begins. Sometimes this consists of removing excess finish from underneath the footprint of the bridge to ensure a proper glue joint. Other times it involves flattening a bellied top, the re-gluing of a loose internal brace, or repairing a damaged bridge plate. In this case, it appears to just simply have been a poorly glued joint.
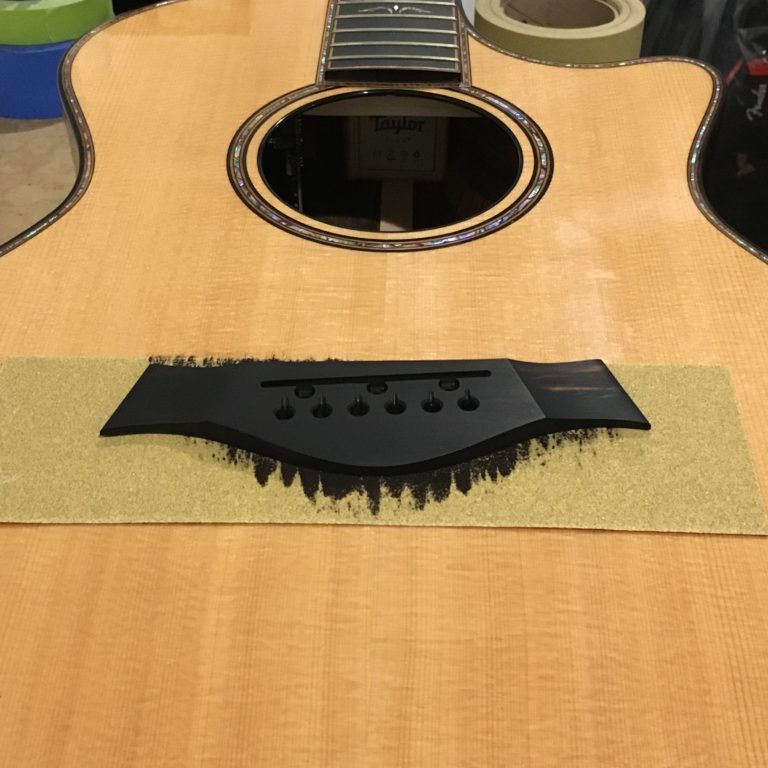
After removing the bulk of the old glue and excess material with a cabinet scraper, the final fitting was achieved utilizing a piece of sandpaper adhered to the top. The sandpaper help us to determine any remaining high or low spots on the bridge bottom that are preventing it from seating as seamlessly as possible against the instrument’s top.
Regluing and Clamping A Guitar Bridge
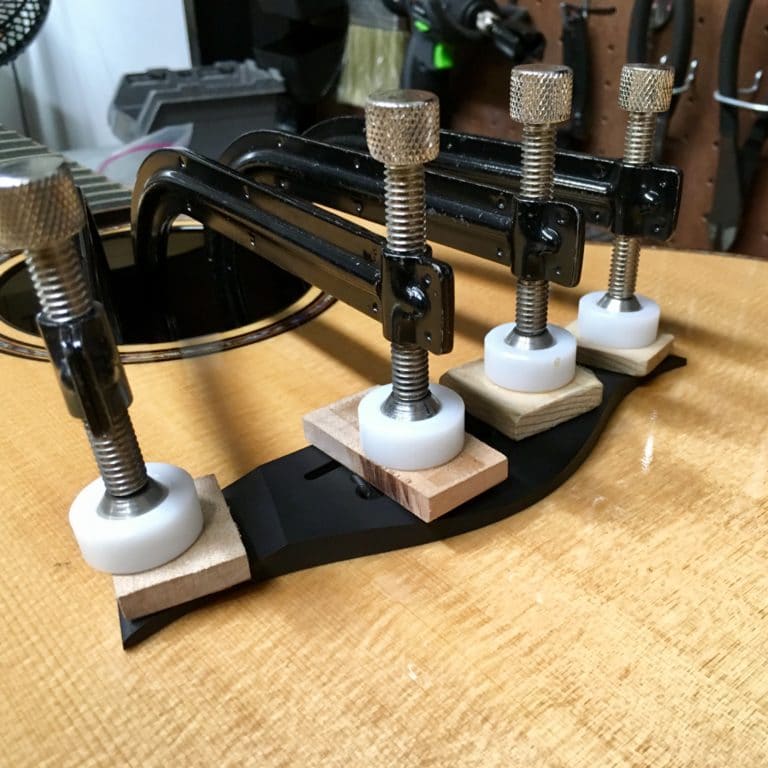
Once we are sure that the bridge is well mated to the top, it is ready to be glued into position. We typically prefer Franklin’s Titebond as our glue of choice: This common wood glue has a reasonably long working time before setting, is fairly easily removed if necessary, and it is easy to apply and cleanup. Hot hide glue is a traditional option. However, it is a bit more work to prep and has a limited open time.
We use specially designed clamps and cauls to reach through the sound hole and support the bridge in position while the glue dries. Once clamped, diligent cleanup ensures a clean end result. After leaving the clamps on overnight, the instrument was ready for an NT neck reset and setup to complete the required repairs. Now it sounds as good as it looks! If properly maintained, the bridge should not cause any future problems.

Erik Salomon - Calico Guitarworks Owner / Head Technician
Tech Talk articles are part of an ongoing effort to provide clear and detailed answers to common questions about guitar maintenance, modifications, and repairs.
While not intended as a step-by-step guide to servicing your own instrument, we hope that you will find value in the information provided.

Great Repairs Start With The Right Parts
Many of the parts mentioned in our blogs are available for purchase at:
GuitarRepairParts.com
Enter the code "TechTalk10" at checkout for 10% off your first order.
About Calico Guitarworks
Calico Guitarworks is the area’s premier destination for fretted musical instrument care and maintenance. Owned and managed by Erik Salomon, the shop is dedicated to providing quick, honest and reliable service. The staff at Calico Guitarworks has a combined 25+ years of professional guitar repair experience. Sharing the knowledge that we accumulate in this focused pursuit is at the core of what we do. Learn more About Calico Guitarworks, explore our Frequently Asked Questions, or Contact us with a specific request.


