Acoustic Guitar Bracing Repairs
What Is Bracing?

In an acoustic guitar, bracing is the internal support structure that holds the instrument together. By design, the top, back, and sides of the guitar body must be fairly thin and are typically made from wood. A series of comparatively thicker pieces are then glued to specific locations to provide stability in high stress areas; This is the bracing system.
Without sufficient bracing to reinforce it, the instrument would buckle, crack, and fall apart from the substantial force put upon it by the strings.
An ideal bracing pattern supplies support and stiffness where required, while retaining enough flexibility to focus and amplify the sound of the guitar strings. The most common style is called “X Bracing”. Pioneered by Martin Guitars in the mid 19th century. it is named after the shape made by two intersecting braces in the center of the instrument.
What Causes Bracing To Fail?
While an insufficient application of glue, or a bad batch of adhesive, does occasionally happen during instrument construction, in our experience, poor humidity control is often a leading or contributing factor where bracing issues are concerned.
Since the inside of an acoustic guitar generally does not have a protective finish like the outside does, it is particularly vulnerable to the effects of humidity fluctuations. Much like a lifted bridge, swelling and contracting of the wood can cause a brace to crack or the glue joint to fail.
If bracing becomes loose or damaged, it is important to repair it quickly in order to prevent warps or cracks in the body and keep the instrument sounding its best. We highly recommend having someone look at the bracing as part of your checklist before purchasing a used guitar.
Repairing Guitar Bracing
Bracing repairs are made complicated by the need to work inside of the closed guitar body. Not only is it a cramped space, but much of the work must be done partially “blind”, while working through the soundhole. The nature of the task typically requires an array of lights, mirrors, inspection cameras, clamps, jacks, cauls, spatulas, etc.
This work is delicate. The braces themselves are soft and prone to denting under the pressure of clamping. Furthermore, failure to properly support the instrument during clamping can cause more damage than it repairs!
Loose / Lifted Braces
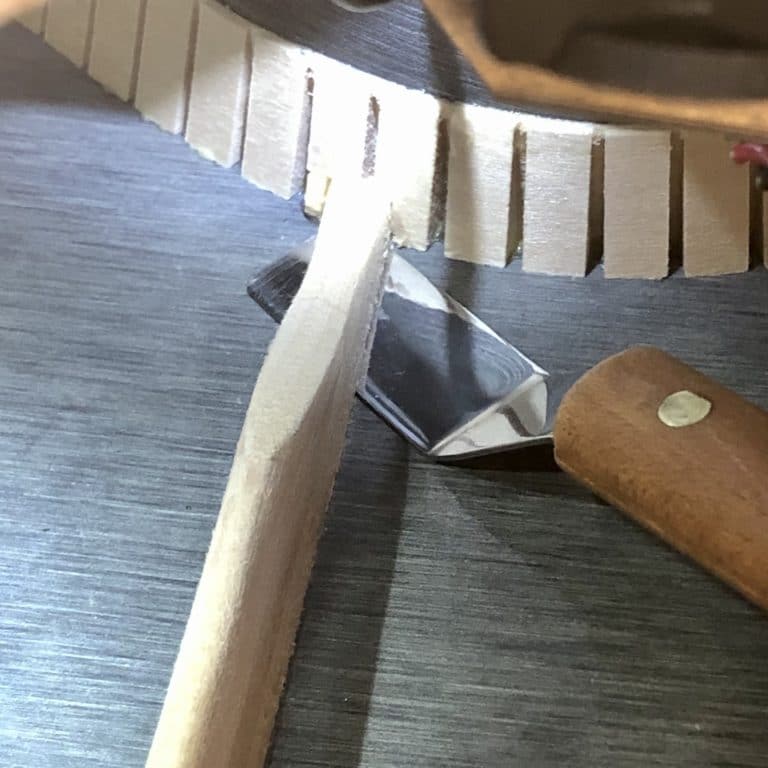
Lifting bracing typically presents near one or both ends, closer to the instrument’s sides. In rare cases, a complete failure may lead the brace to fall off entirely!
Besides the risk of severe damage from the loss of structural support, loose bracing can produce sympathetic rattling as it vibrates against the body during use. The rattling is often frequency dependent (more pronounced on particular notes or chords.)
Diagnosing Loose Bracing
Diagnoses of loose bracing can be tricky; Many times, even with an inspection mirror in hand, visual inspection is only of marginal help. A “tap test” is generally how we first identify bracing issues; Extremely loose braces oftentimes produce an audibly different sound when the body near them is tapped against.
If a bracing issue is suspected, thorough inspection requires that all braces must be examined individually along the joint with a spatula to asses whether they are firmly attached. In our experience, if a loose brace has been found, it usually has company. Unfortunately, the nature of working through the sound hole does not lend itself to multitasking; Loose braces typically need to be glued individually.
Repairing Loose Braces
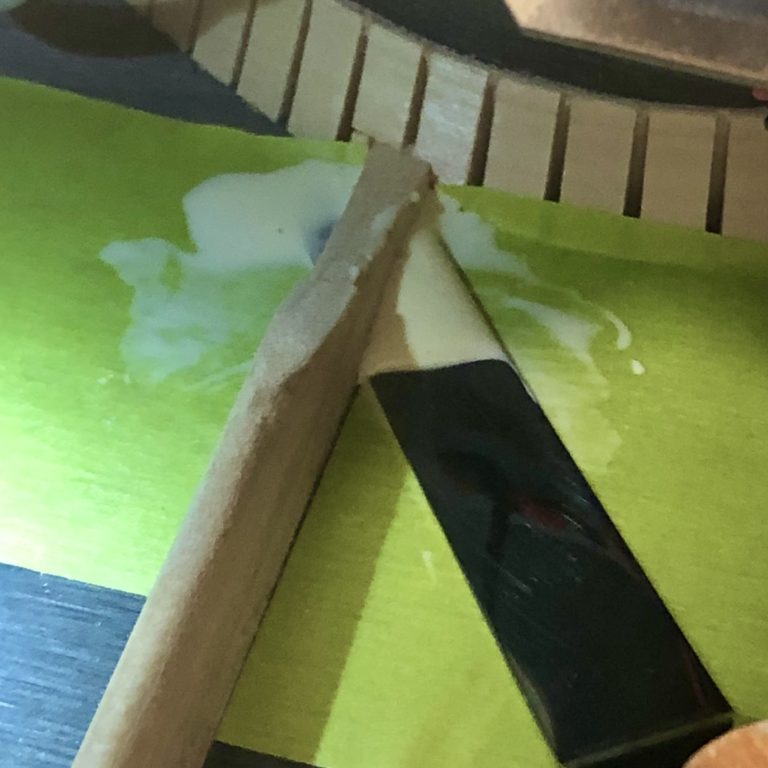
Gluing a loose brace is easier said than done. First, we clean the gluing surfaces as well as possible. Afterwards, we tape around the surrounding area as a sort of “drop-cloth” to catch the excess glue while we work.
Then, glue is worked underneath and the brace clamped back into position against the top or back. The excess glue is then wiped clean.
Cracked Braces
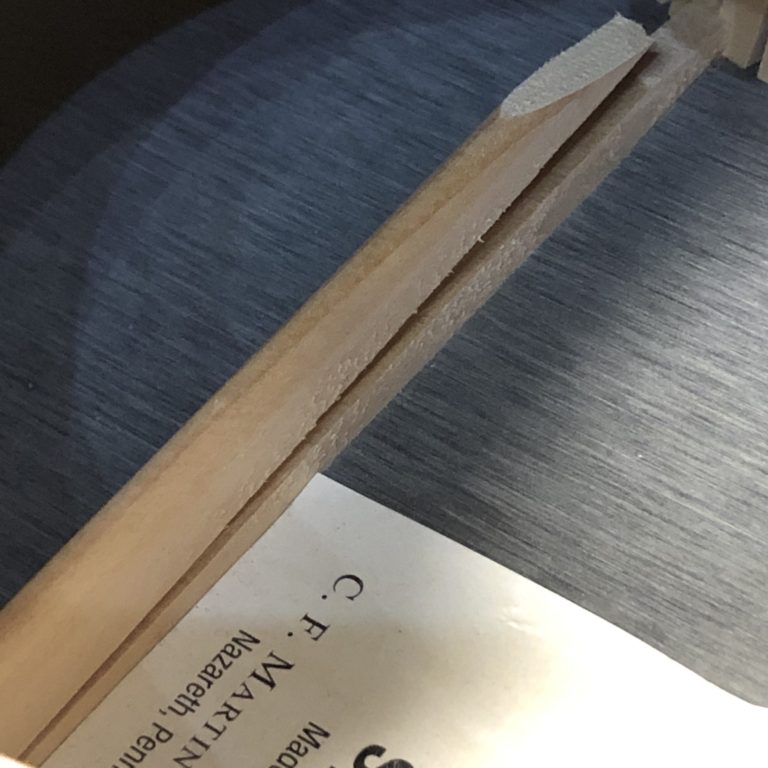
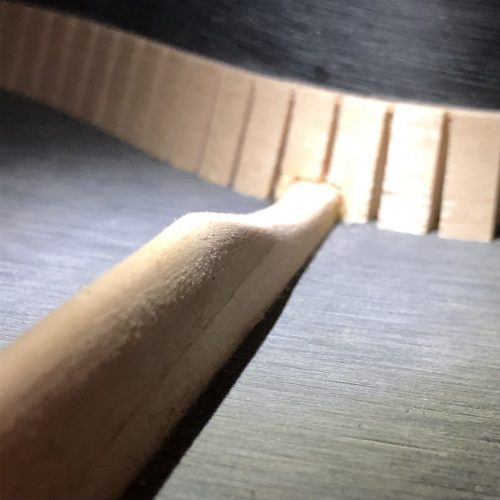
A cracked brace occurs when the wood that it is made of wants to warp, but a strong glue joint prevents it from pulling away and lifting. Instead, a weak point in the wood succumbs to the stress and splits.
Cracked braces can usually be identified visually with a lighted inspection mirror. In our experience, they are less common than loose bracing.
Repairing Cracked Braces
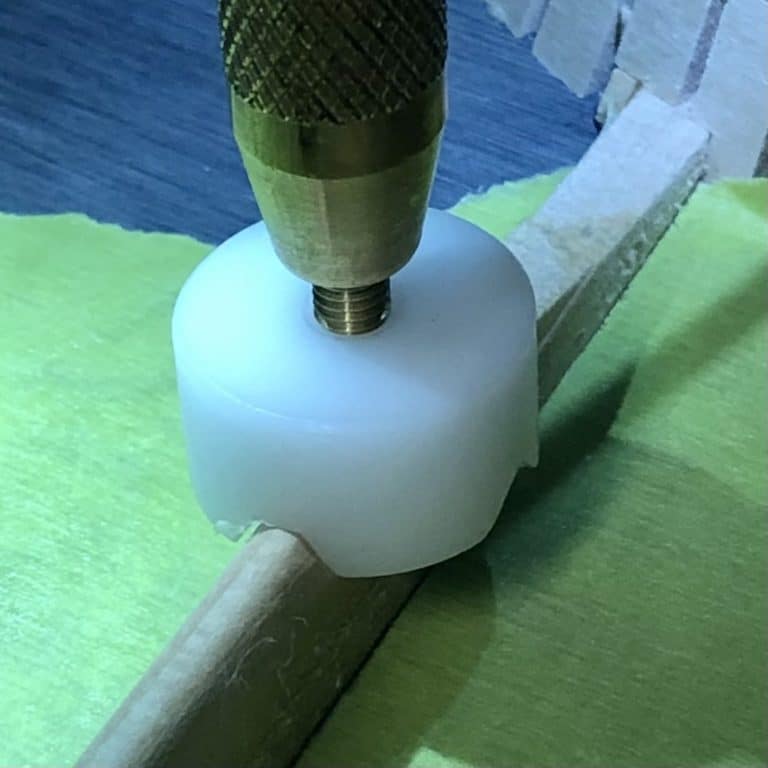
Once a cracked brace has been identified, it must be reglued to restore strength. The process is similar to that of repairing a lifted brace. The only difference is that, instead of readhering the brace to the top or back, we are reattaching the brace to itself!
After protecting the surrounding area, glue is worked into the opening before it is clamped in position. The completed repair should be clean and structurally sound.

Erik Salomon - Calico Guitarworks Owner / Head Technician
Tech Talk articles are part of an ongoing effort to provide clear and detailed answers to common questions about guitar maintenance, modifications, and repairs.
While not intended as a step-by-step guide to servicing your own instrument, we hope that you will find value in the information provided.

Great Repairs Start With The Right Parts
Many of the parts mentioned in our blogs are available for purchase at:
GuitarRepairParts.com
Enter the code "TechTalk10" at checkout for 10% off your first order.
About Calico Guitarworks
Calico Guitarworks is the area’s premier destination for fretted musical instrument care and maintenance. Owned and managed by Erik Salomon, the shop is dedicated to providing quick, honest and reliable service. The staff at Calico Guitarworks has a combined 25+ years of professional guitar repair experience. Sharing the knowledge that we accumulate in this focused pursuit is at the core of what we do. Learn more About Calico Guitarworks, explore our Frequently Asked Questions, or Contact us with a specific request.

