Acoustic Guitar Strap Buttons
A guitar strap allows the player to securely position the instrument in a comfortable spot without the need to physically hold it. They can be useful whether playing seated or standing.
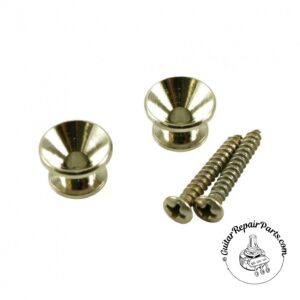
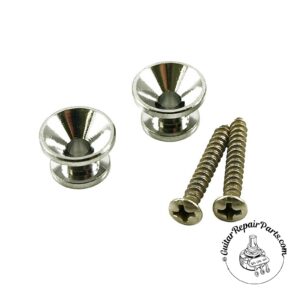
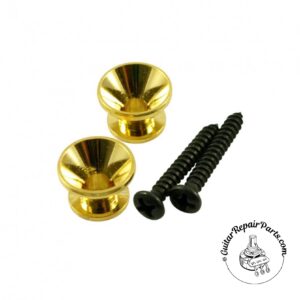
Strap buttons are the connecting points that let the user easily secure and/or remove the strap as needed. Each guitar strap needs two points of contact. On an acoustic guitar, these are typically the endpin and either the headstock or the heel.
Headstock Strap Mount
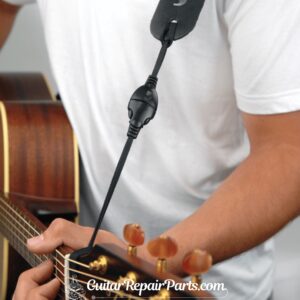
A headstock mount is a traditional means of attaching a strap to an acoustic guitar. If you were to look at pictures of 60’s folk singers, you would find many examples of straps mounted in this fashion. It is an easy way to attach a strap to an instrument that does not have a button on the heel.
The material used can be a simple shoelace or string, or a more purpose built device like the D’Addario Acoustic Quick Release System that is shown here.
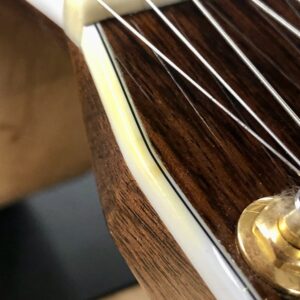
One issue with a headstock mounted strap is that the repeated rubbing and stress is likely to cause some cosmetic damage over time.
The photo here shows a piece of white binding that has become stained from the use of a leather Strap-Tie.
Heel Mount Strap Button Installation
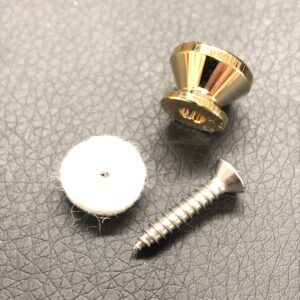
For most players, a heel mounted strap button is preferable to the headstock mount discussed above. One comes factory installed on the majority of modern instruments. Be that as it may, there are still plenty of guitars that do not come with a button.
While it is a simple retrofit, you only get one shot at doing it correctly. There are a few things to consider; Care must be taken to drill the hole in the correct position and to the right size and depth. This is especially true for instruments featuring a bolted or hybrid neck joint, where accidentally drilling into the mounting bolts is possible.
On a typical neck, with a pointed heel, the most common location to install the button is on the treble side (closest to the 1st string). This position comfortably supports the weight of the instrument and, when in he playing position, allows the strap to naturally roll over the top of the heel, keeping it fairly well locked in place without the need for straploks.
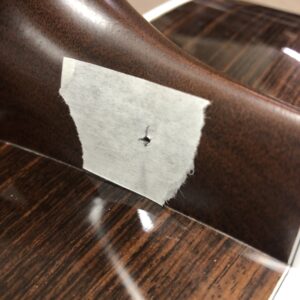
Before drilling, we like to mark the location in pencil on a piece of low-tack tape.
We then use a center-punch to create an indentation. The divot gives the drill bit something to line up on, which prevents wandering.
The next step is to drill the hole to the correct angle and depth. This can be a bit trickier than meets the eye because the instrument must be securely held and the hole is being drilled into an angled surface.
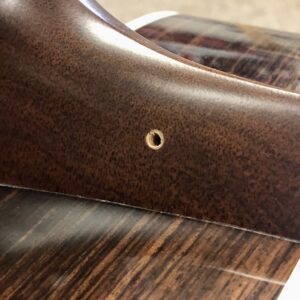
Drilling or screwing into a piece of wood that has been covered with a protective coating involves some risk of finish de-lamination around the edge of the hole.
After drilling, we like to chamfer the edges with a counter-sink bit. This helps to minimize any chance that the screw will catch onto the finish, lifting it away from the wood, as it is driven into the hole.
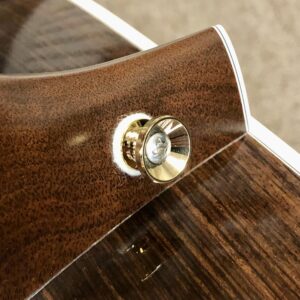
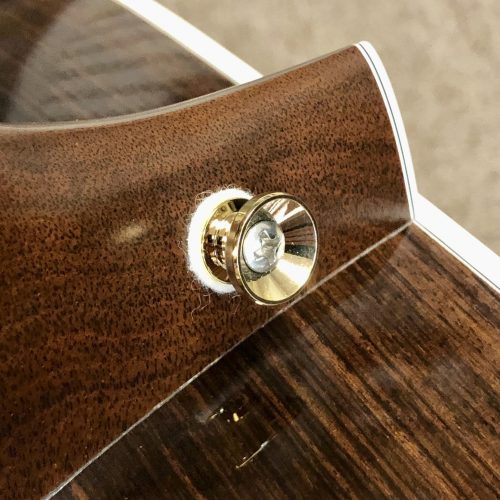
A felt washer in-between the button and the body helps seat it and prevents the hard bottom edge of the metal button from digging into the comparatively soft wood.
Take care to avoid damaging the screw. Applying a bit of wax to the screw before installation makes it thread nicely into its new home,
Endpins
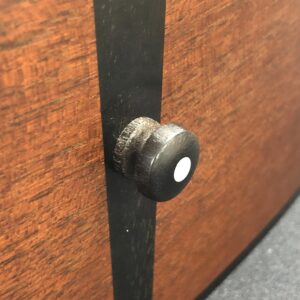
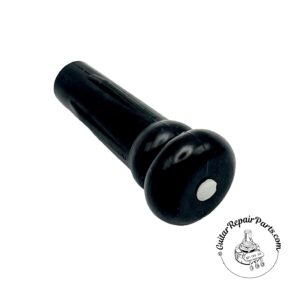
The strap button located on the bottom of the guitar is referred to as the “endpin”. It is often made of wood or plastic.
Wooden endpins may be glued in place and difficult to remove without the careful use of tools.
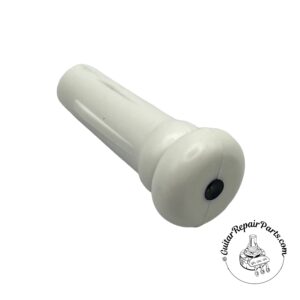
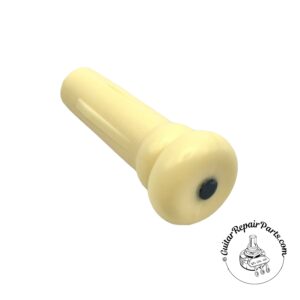
Plastic endpins are typically tapered and are designed to be press-fit into the mounting hole. They may occasionally fall out and require reinsertion. Should yours have been lost, a few popular styles are available below.
Endpin Jacks
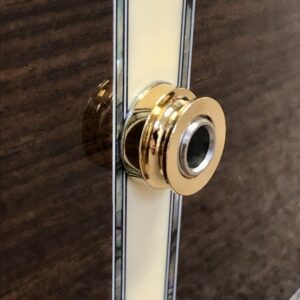
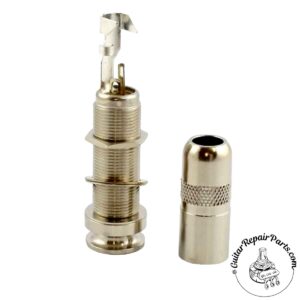
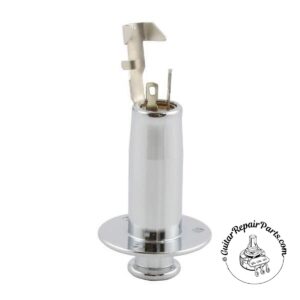
If your guitar has on-board electronics, the endpin usually consists of a metal jack for inserting a guitar cord. Endpin-jacks are a larger diameter than their non-electric counterparts. Retrofitting electronics onto a guitar will require enlarging the endpin mounting hole.
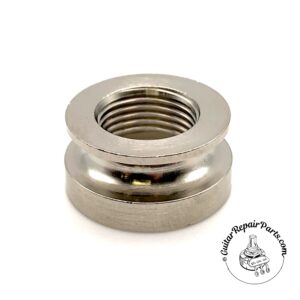
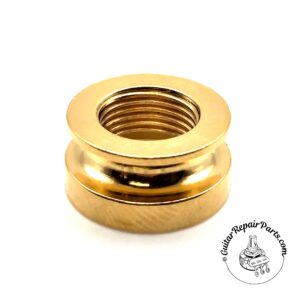
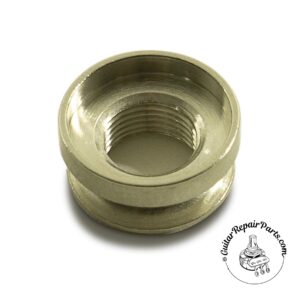
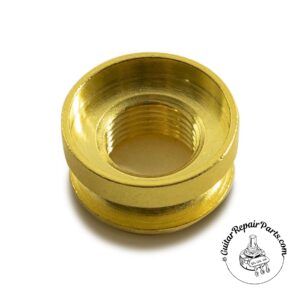
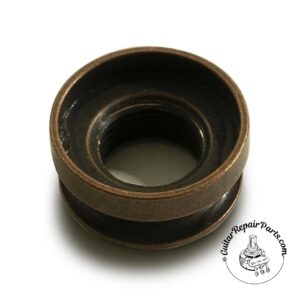
The jack is fitted with a special nut that is grooved to accept a guitar strap. The strap-nut is threaded to match the threads of the jack. There are two common sizes, one each for Metric thread and Standard thread.
SAE threaded strapnuts are 3/8″-32 thread.
Fits Switchcraft jacks, as well as those included with Fishman and K&K brand pickups
Metric threaded strapnuts are M9 thread.
This is the size to fit the jack included with LR Baggs brand pickups
Screw Mounted Endpin Jack
Some instruments feature an endpin jack that attaches via three externally-mounted screws.
This style of jack is commonly found on Takamine Guitars and Taylor Guitars GS Mini series instruments.
A Note About Guitar Straps
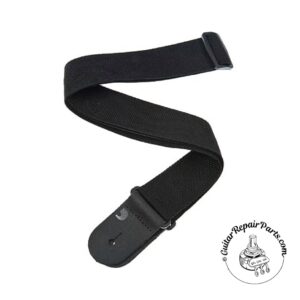
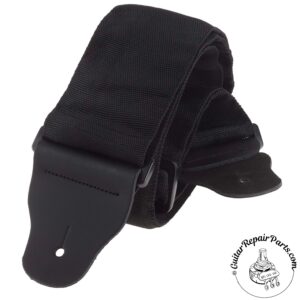
Once you’ve got your strap buttons squared away, make sure you have a quality guitar strap! For the best security, a strap should fit fairly snuggly over the buttons. Straps wear out over time. If your favorite has worn out attachment points, consider replacing it.
A standard guitar strap is roughly a 2″ wide piece of nylon or leather. If your favorite guitar is on the heavier side, consider a wider and/or padded strap to spread out the weight across your shoulder.

Erik Salomon - Calico Guitarworks Owner / Head Technician
Tech Talk articles are part of an ongoing effort to provide clear and detailed answers to common questions about guitar maintenance, modifications, and repairs.
While not intended as a step-by-step guide to servicing your own instrument, we hope that you will find value in the information provided.

Great Repairs Start With The Right Parts
Many of the parts mentioned in our blogs are available for purchase at:
GuitarRepairParts.com
Enter the code "TechTalk10" at checkout for 10% off your first order.
About Calico Guitarworks
Calico Guitarworks is the area’s premier destination for fretted musical instrument care and maintenance. Owned and managed by Erik Salomon, the shop is dedicated to providing quick, honest and reliable service. The staff at Calico Guitarworks has a combined 25+ years of professional guitar repair experience. Sharing the knowledge that we accumulate in this focused pursuit is at the core of what we do. Learn more About Calico Guitarworks, explore our Frequently Asked Questions, or Contact us with a specific request.

