Guitar Strap Locks
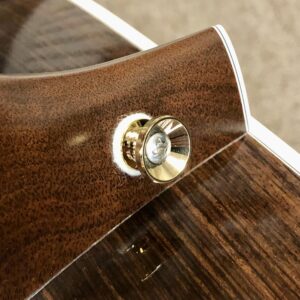
Whether playing seated or standing, a guitar strap is a helpful tool for keeping your instrument in a comfortable playing position. They are typically attached to two points on the guitars body called strap buttons. When new, a guitar strap may be so tightly fit as to be difficult to get on and off the buttons. Overtime the strap becomes broken in and, as the material of the strap breaks down, the straps attachment points may eventually become dangerously loose. If the strap fails the guitar may fall to the floor.
The addition of strap locks provide a convenient way to securely install and remove your instruments strap. They are among our favorite “mods” and are mentioned in our articles on upgrades for Fender Stratocaster and Fender Jazz Bass. They are easy to add on the next time you have your instrument in the shop for a setup. Though fairly straightforward to install, it is worth taking a few moments to look at the most popular styles and discuss the proper way to attach them.
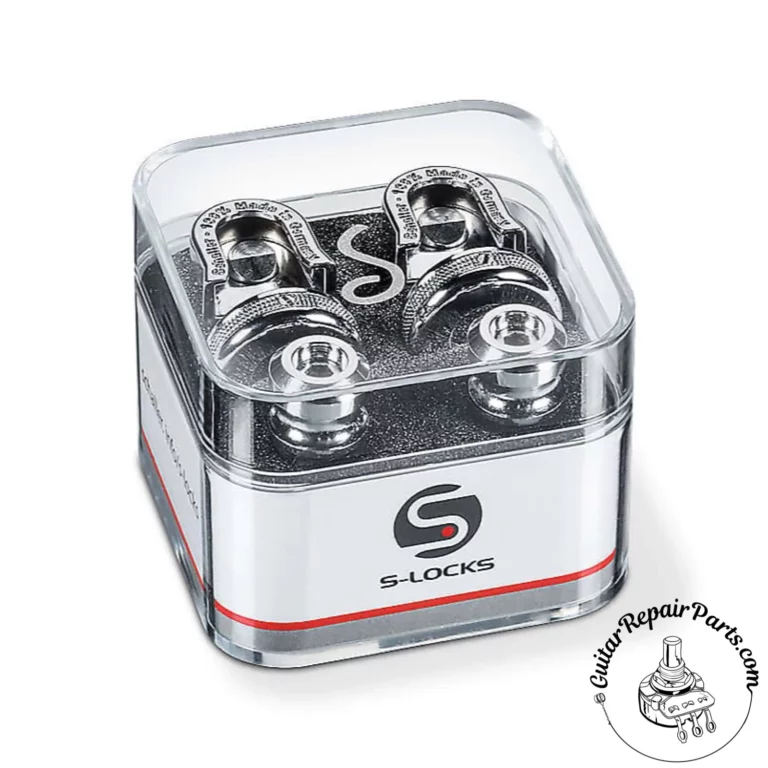
Schaller Strap Locks
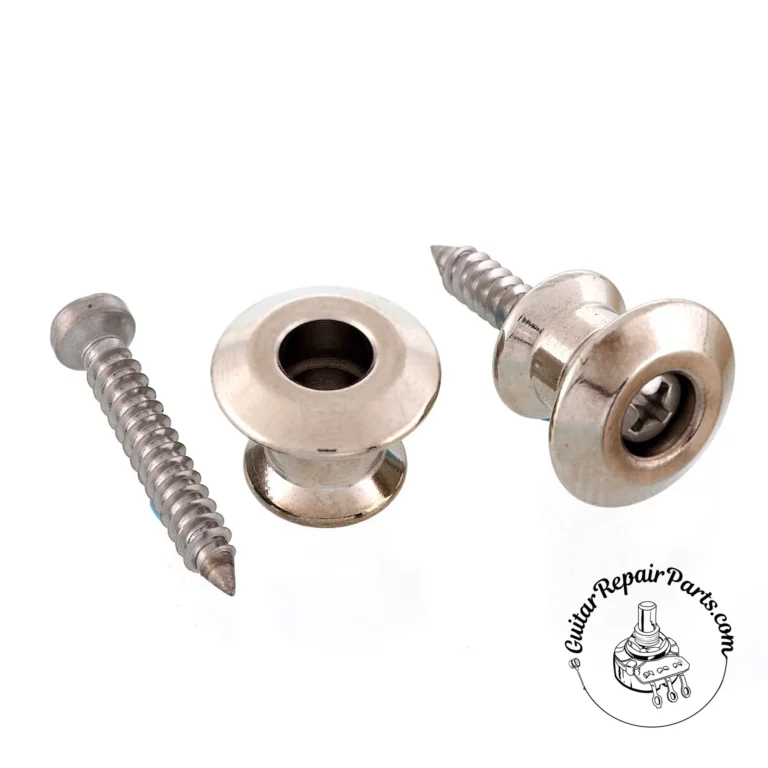
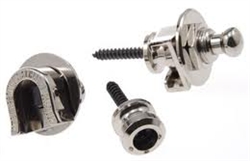
The Schaller style design of strap lock consists of a U shaped channel that cradles around the outside of the included strap button. A locking pin on the underside then slides into the hole on top of the strap button to secure the lock in position.
To release the strap, simply pull up on the locking mechanism and slide the lock off towards the opening in the channel.
This style of button has been around since the early 1980’s and has been widely imitated. Similar are offered by brands such as Grover, Fender, and countless others.
Schaller Strap Lock Installation
Some time ago, we filmed a tutorial demonstrating the installation of Schaller strap locks onto a Fender Stratocaster guitar. Although Schaller has redesigned their strap lock system slightly since this video was made, the tutorial still applies to the many imitation style strap locks that retain Schaller’s original design.
The current “S-Lock” strap lock design combines the outer washer and locking nut into one locking wheel for an even simpler installation. It also has a larger threaded portion for compatibility with thicker guitar straps.
A wrench is not required to install the S locks; Simply tighten the wheel by hand and lock it in place using a small flathead screwdriver to tighten the set screw. The one piece buttons screw into the body with a 3mm allen key.
Another nice feature of this redesign is that moving the guitar around during use doesn’t cause them to rattle as it had a tendency to with the previous version.
Dunlop Straploks
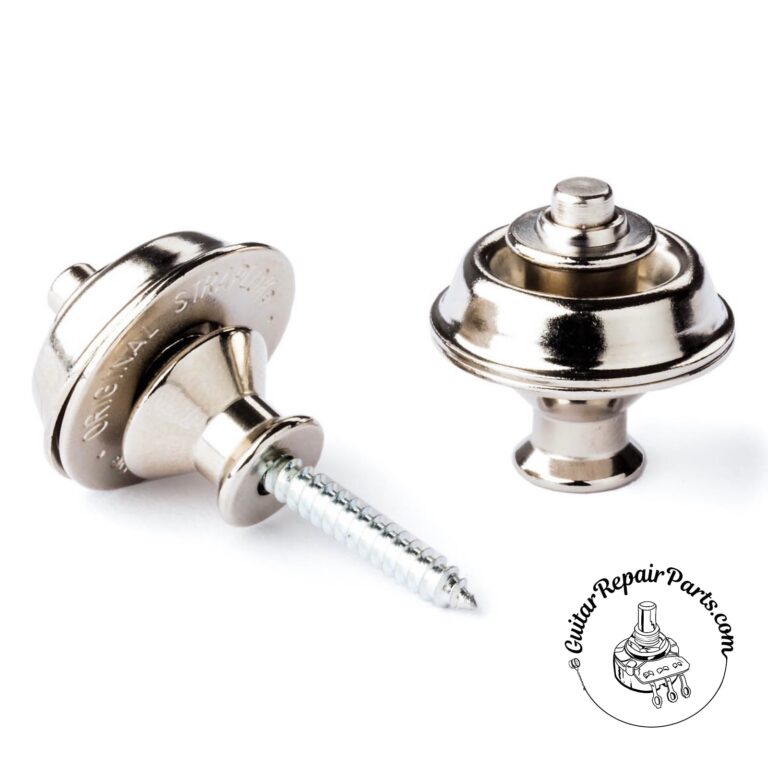
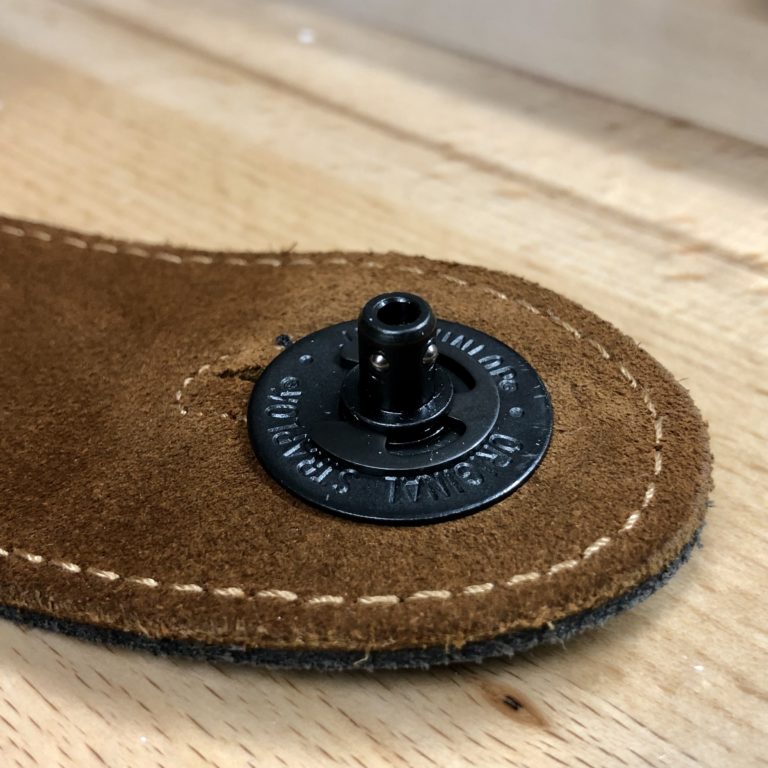
Dunlop “Straplok” strap locks work by securing a locking pin, that has been mounted to the strap, inside of a custom strap button that has been screwed to the body.
When used as designed, the strap will be held firmly in place on the body until the button, located on the outside portion of the strap, is depressed to release it.
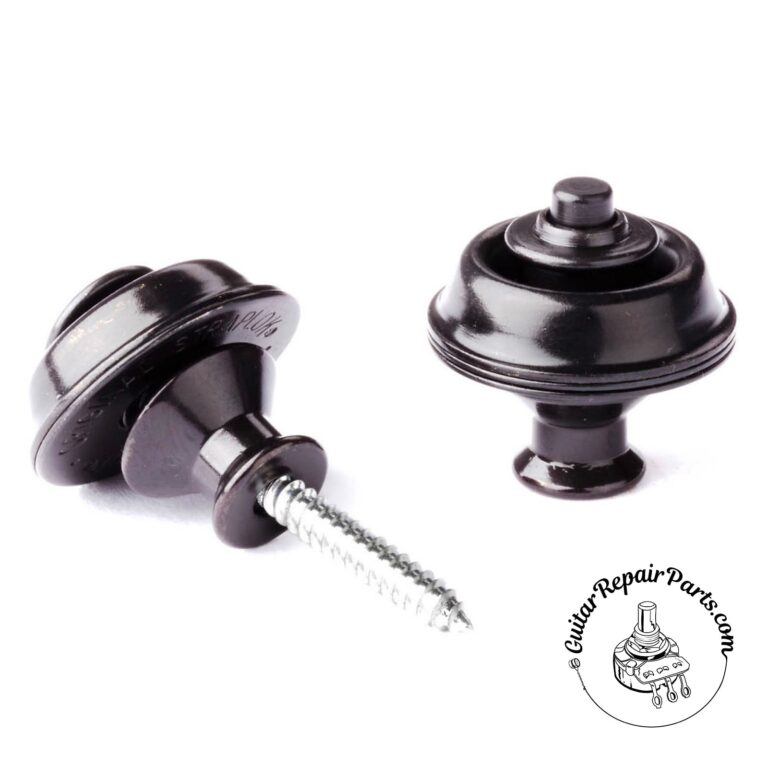
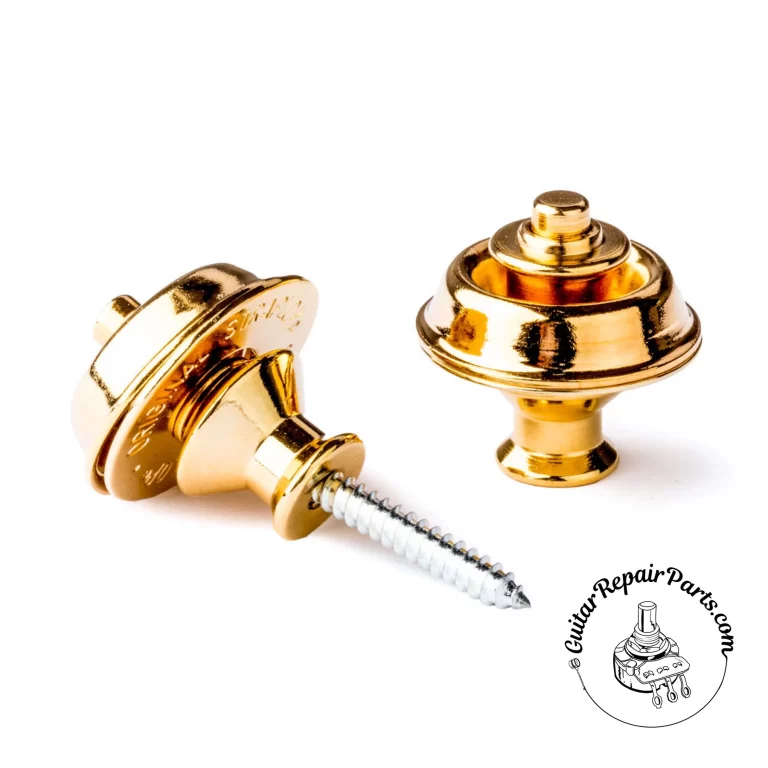
They are available with a few different styles of strap buttons, but the locking mechanism is always the same. Our Favorite version is called the “Dual Design” because their more standard shape also allows them to easily be used as a standard strap button without the locking mechanism when desired.
Dunlop Dual Design Straploks
Dunlop Dual Design Strap Button Set Only
Dunlop Straplok Installation
They key with this style of lock is correctly fitting the 4 pieces of the locking mechanism that must attach to each side of the strap.
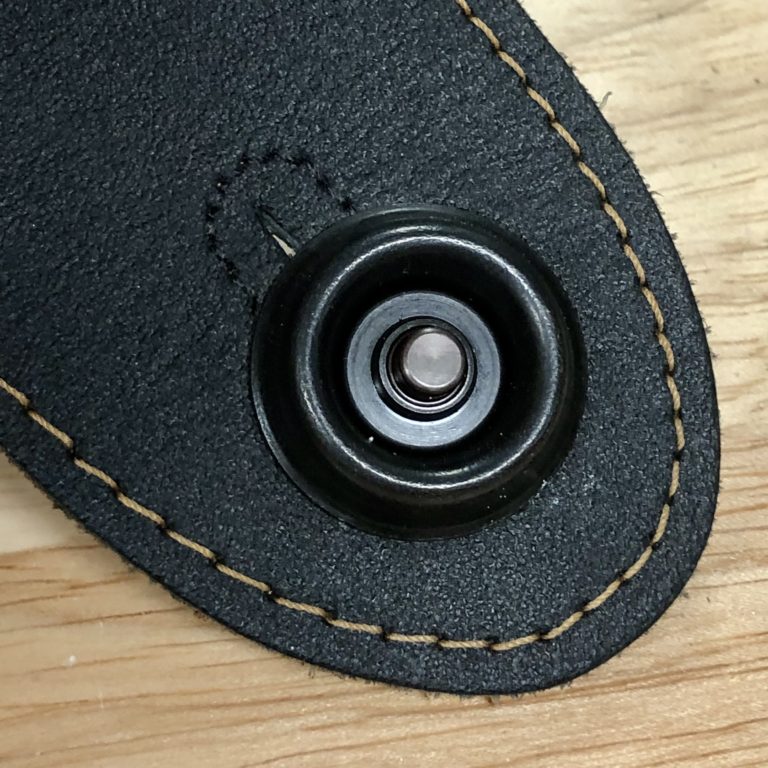
Upon removing the locks from the packaging, place the recessed washer on the portion of the strap that will be facing out during use.
Then, as shown, push the locking pin through the strap so that the release button is sitting inside of the recessed washer on the exterior of the strap.
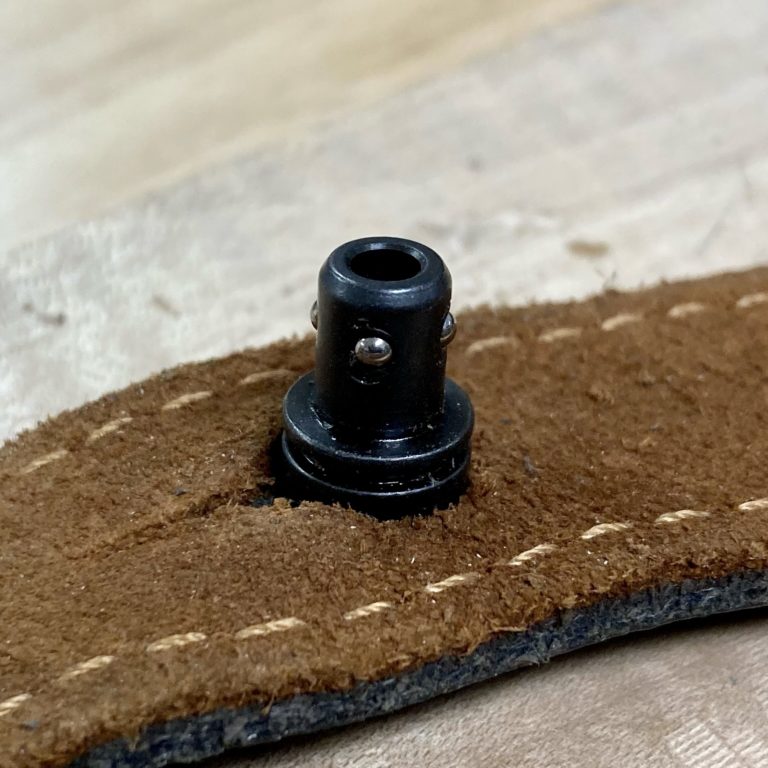
It is important that the grooved portion of the locking pin is exposed on the inside edge of the strap.
If the strap is thick enough, this may require carefull removal of material from the strap (see “fitting strap locks to leather straps” below)
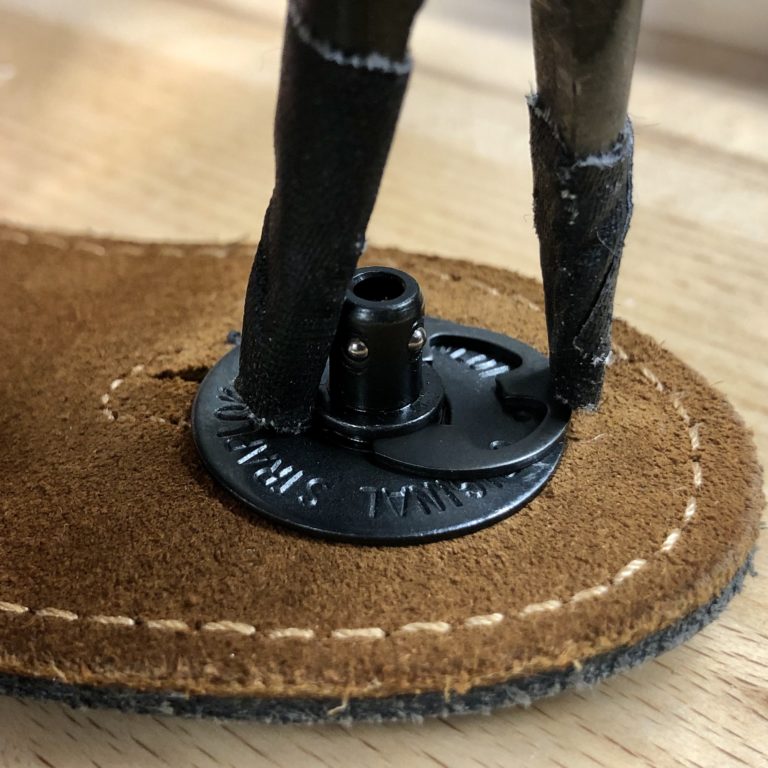
Next, place the flat washer on the inside portion of the strap. The strap should now be sandwiched between the recessed washer on the outside and the flat washer on the inside.
Using a pair of pliers, fit the retaining ring onto the groove and click it into place using a pair of pliers. This step is crucial to secure the locking mechanism to the strap.
After screwing the supplied buttons onto the body, the straploks are now ready for use.
Dimarzio Cliplock Strap Locks
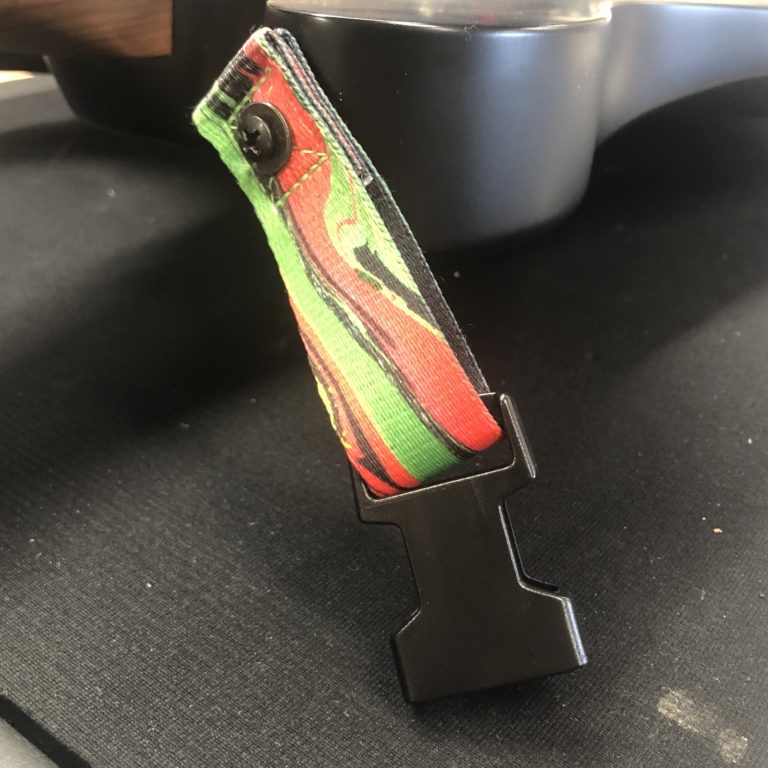
Dimarzio Cliplock strap lock systems work with the use of plastic buckles on either end to quickly lock or release the strap. They are easy to install and intuitive to use.
However, we don’t favor these strap locks for two reasons. First, the guitar can only be used with their matching strap, which can be a real bummer if you forget to bring your strap to the gig! Second, the hard plastic quick release mechanisms can often damage the instrument while resting against it inside of the guitar’s case or gig bag.
Fitting Straplocks To Leather Straps
Some leather straps are a bit too thick to comfortably fit with strap lock systems. The excess material may buldge out, making it difficult to attach the rest of the locking system.
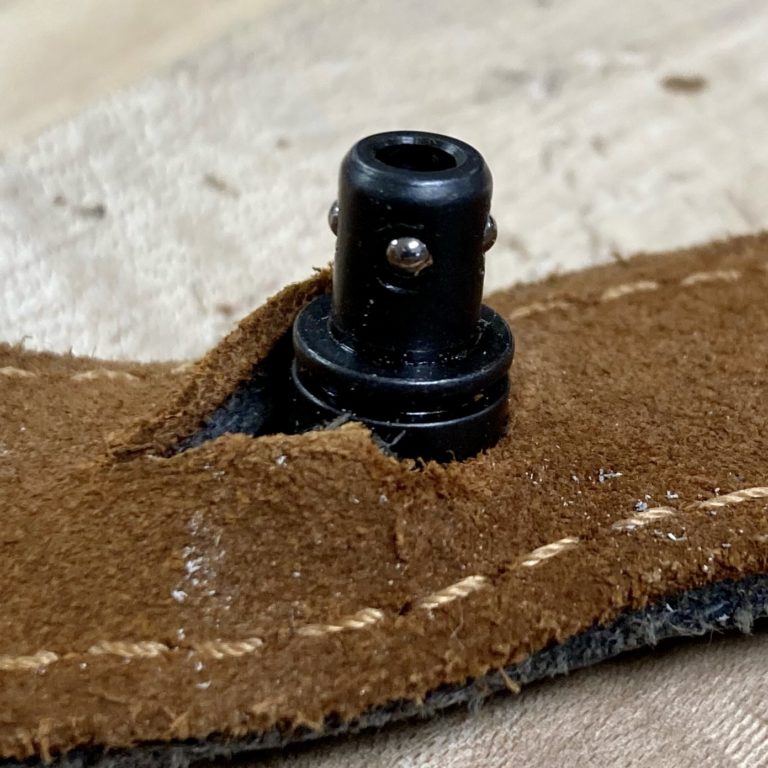
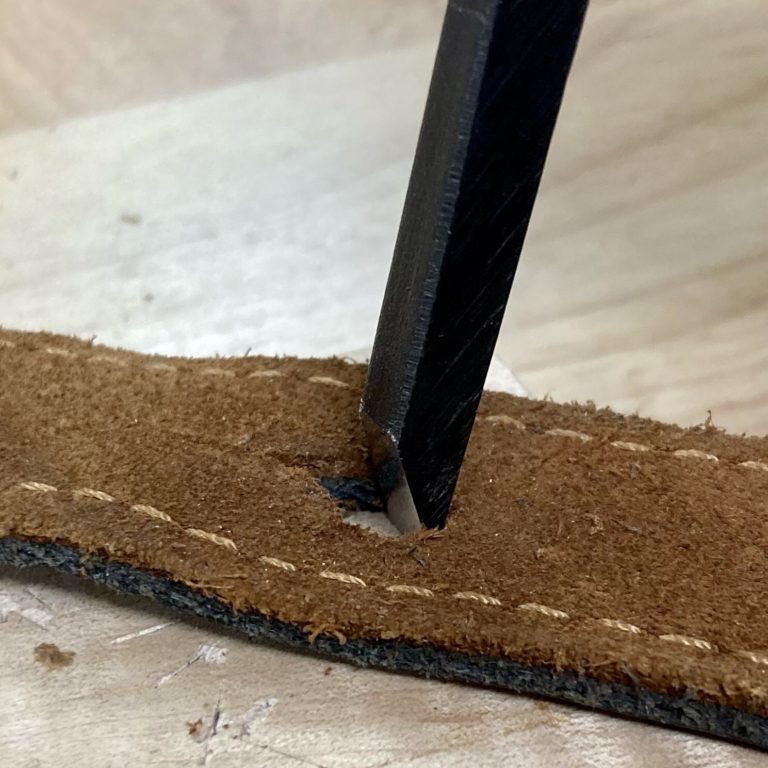
In these circumstances, we typically use a small punch or chisel to remove a small bit of excess material, allowing for a good fit.
You can also see a video example of this procedure shown in the Schaller strap lock installation tutorial video above. The strap fitting portion begins about 4 minutes in.
Strap Lock Maintenance and Repair
When properly installed and used under normal playing conditions, strap locks should provide years of maintenance free use. The most common issue we see with the devices is stripped or broken strap mounting screws. To avoid unnecessary stress to the strap button, we recommend removing the strap from the instrument before putting the guitar in a bag or case.

Erik Salomon - Calico Guitarworks Owner / Head Technician
Tech Talk articles are part of an ongoing effort to provide clear and detailed answers to common questions about guitar maintenance, modifications, and repairs.
While not intended as a step-by-step guide to servicing your own instrument, we hope that you will find value in the information provided.

Great Repairs Start With The Right Parts
Many of the parts mentioned in our blogs are available for purchase at:
GuitarRepairParts.com
Enter the code "TechTalk10" at checkout for 10% off your first order.
About Calico Guitarworks
Calico Guitarworks is the area’s premier destination for fretted musical instrument care and maintenance. Owned and managed by Erik Salomon, the shop is dedicated to providing quick, honest and reliable service. The staff at Calico Guitarworks has a combined 25+ years of professional guitar repair experience. Sharing the knowledge that we accumulate in this focused pursuit is at the core of what we do. Learn more About Calico Guitarworks, explore our Frequently Asked Questions, or Contact us with a specific request.

